Discussion Forum - Northstar Chevelle Club
| Post Info | TOPIC: New patient in the Chevelle hospital | ||||||||
|---|---|---|---|---|---|---|---|---|---|
|
President

|
|
||||||||
|
President
|
|
||||||||
|
Founding Member
|
|
||||||||
|
President
|
|
||||||||
|
President
|
|
||||||||
|
President
|
|
||||||||
|
President
|
|
||||||||
|
3K+ Club
|
|
||||||||
|
2K+ Club
|
|
||||||||
|
1K+ Club
|
|
||||||||
|
President
|
|
||||||||
|
1K+ Club
|
|
||||||||
|
1K+ Club
|
|
||||||||
|
President
|
|
||||||||
|
1K+ Club
|
|
||||||||
|
1K+ Club
|
|
||||||||
|
President
|
|
||||||||
|
Secretary
|
|
||||||||
|
President
|
|
||||||||
|
2K+ Club
|
|
||||||||
|
1K+ Club
|
|
||||||||
|
2K+ Club
|
|
||||||||
|
2K+ Club
|
|
||||||||
|
President
|
|
||||||||
|
2K+ Club
|
|
||||||||
|
President
|
|
||||||||
|
1K+ Club
|
|
||||||||
|
President
|
|
||||||||
|
Active Member

|
|
||||||||
|
1K+ Club
|
|
||||||||
|
Active Member

|
|
||||||||
|
President
|
|
||||||||
|
Mega Poster
|
|
||||||||
|
President
|
|
||||||||
|
2K+ Club
|
|
||||||||
|
President
|
|
||||||||
|
2K+ Club
|
|
||||||||
|
3K+ Club
|
|
||||||||
|
President
|
|
||||||||
|
2K+ Club
|
|
||||||||
|
President
|
|
||||||||
|
1K+ Club
|
|
||||||||
|
1K+ Club
|
|
||||||||
|
2K+ Club
|
|
||||||||
|
President
|
|
||||||||
|
Founding Member
|
|
||||||||
|
1K+ Club
|
|
||||||||
|
President
|
|
||||||||
|
President
|
|
||||||||
|
2K+ Club
|
|
||||||||
|
|||||||||
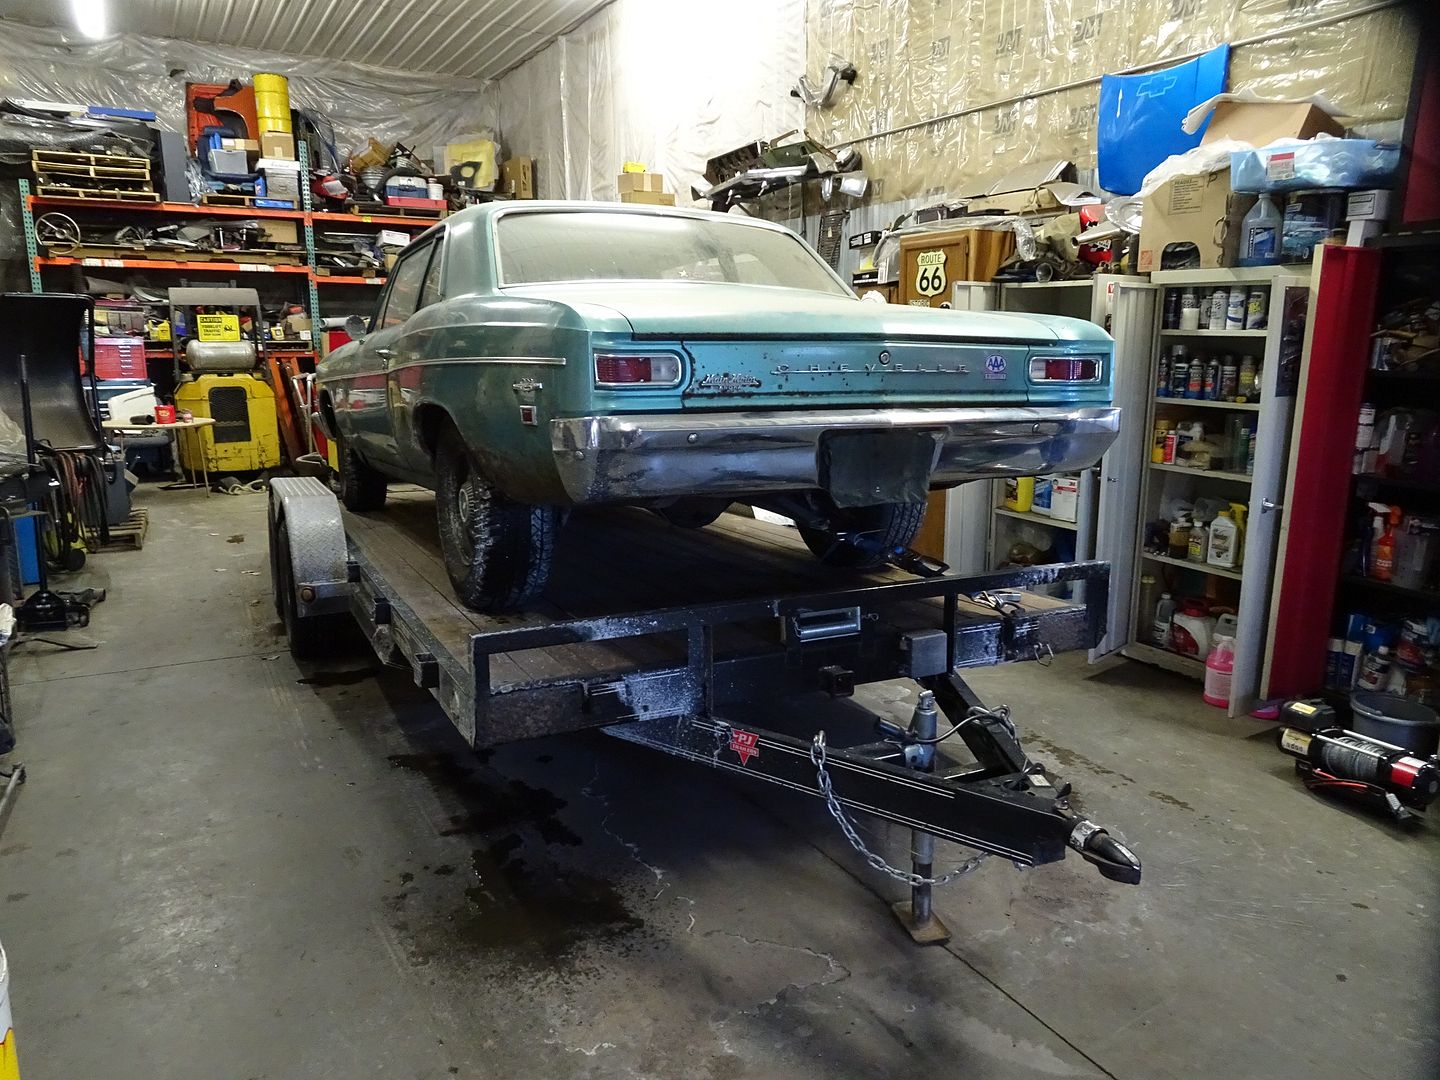


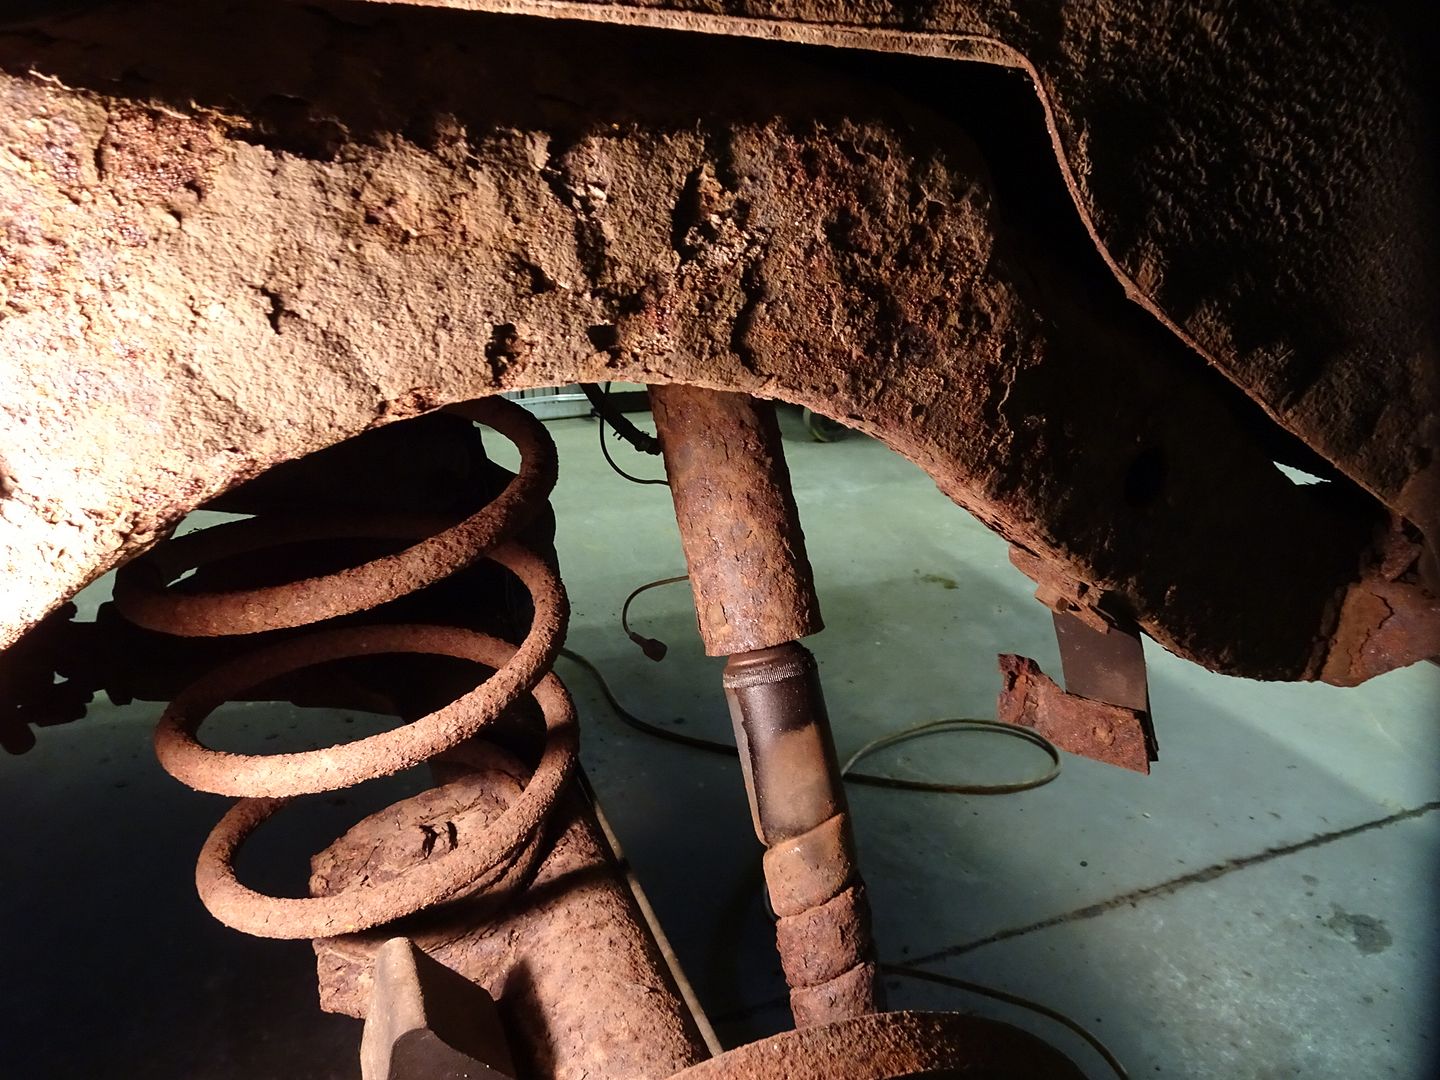
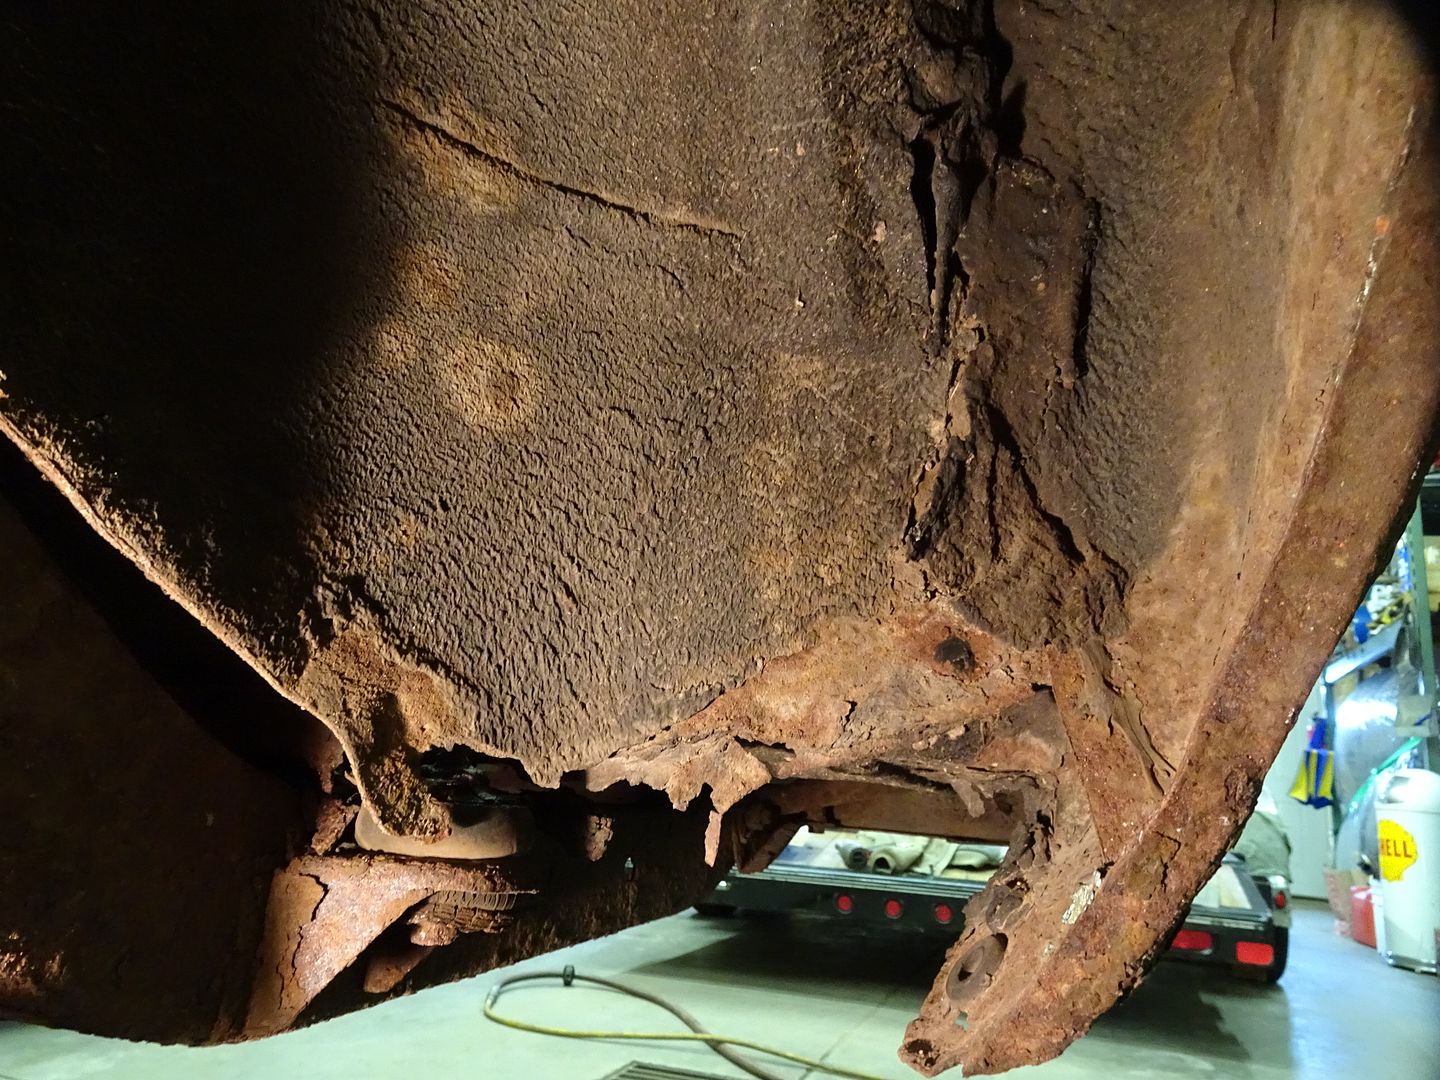


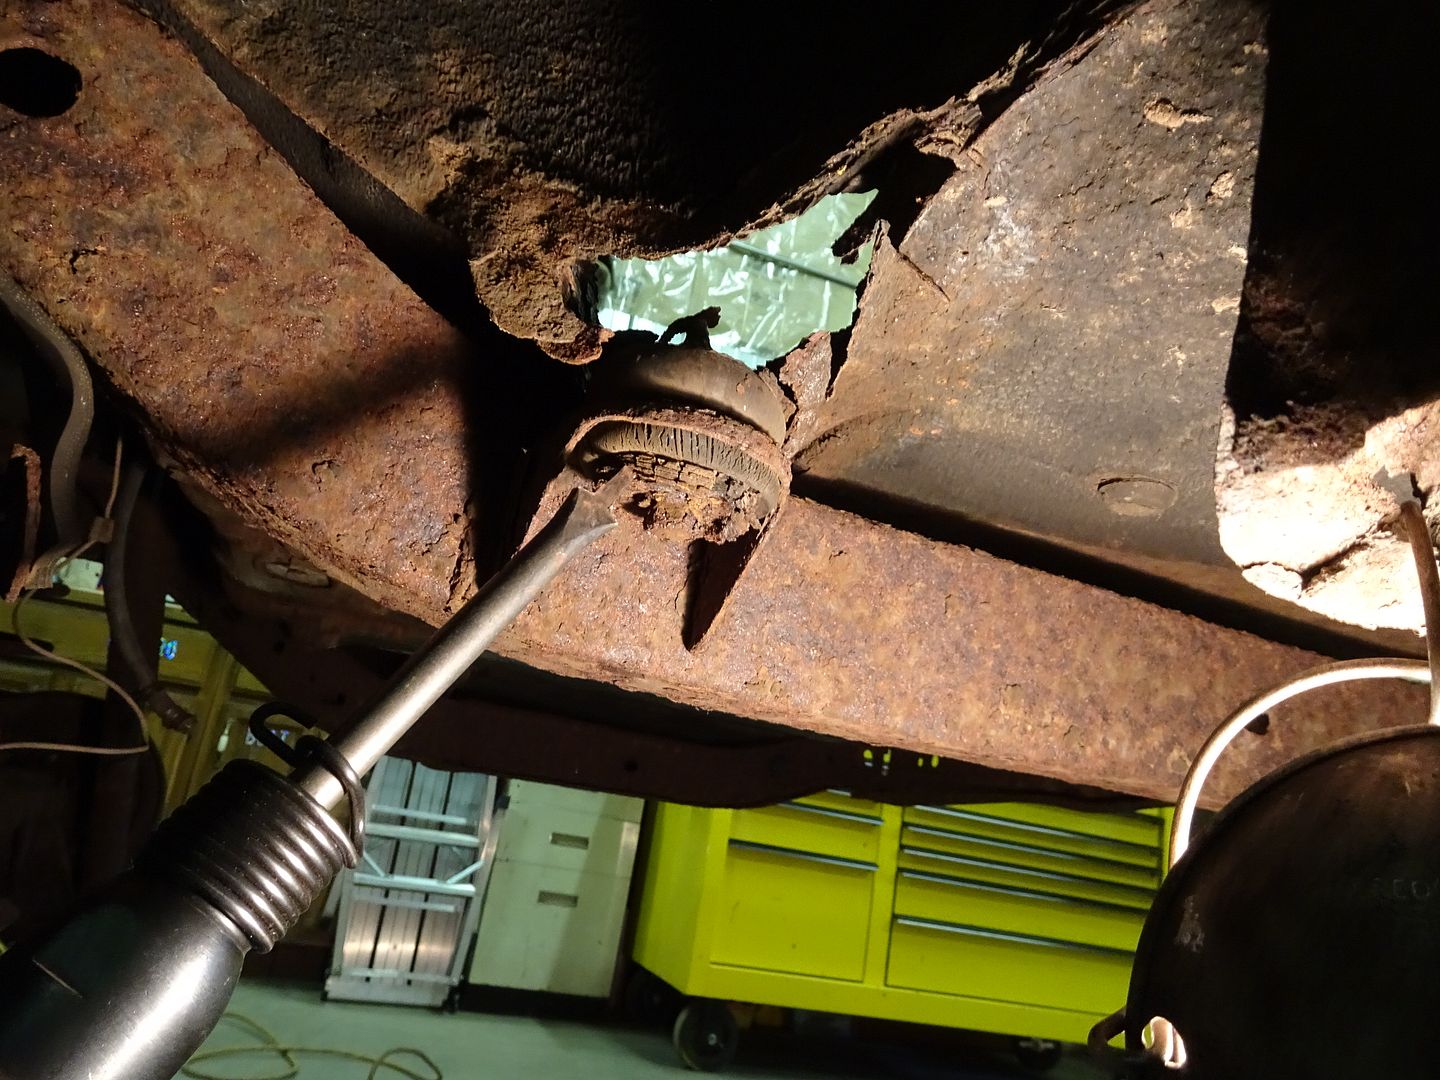
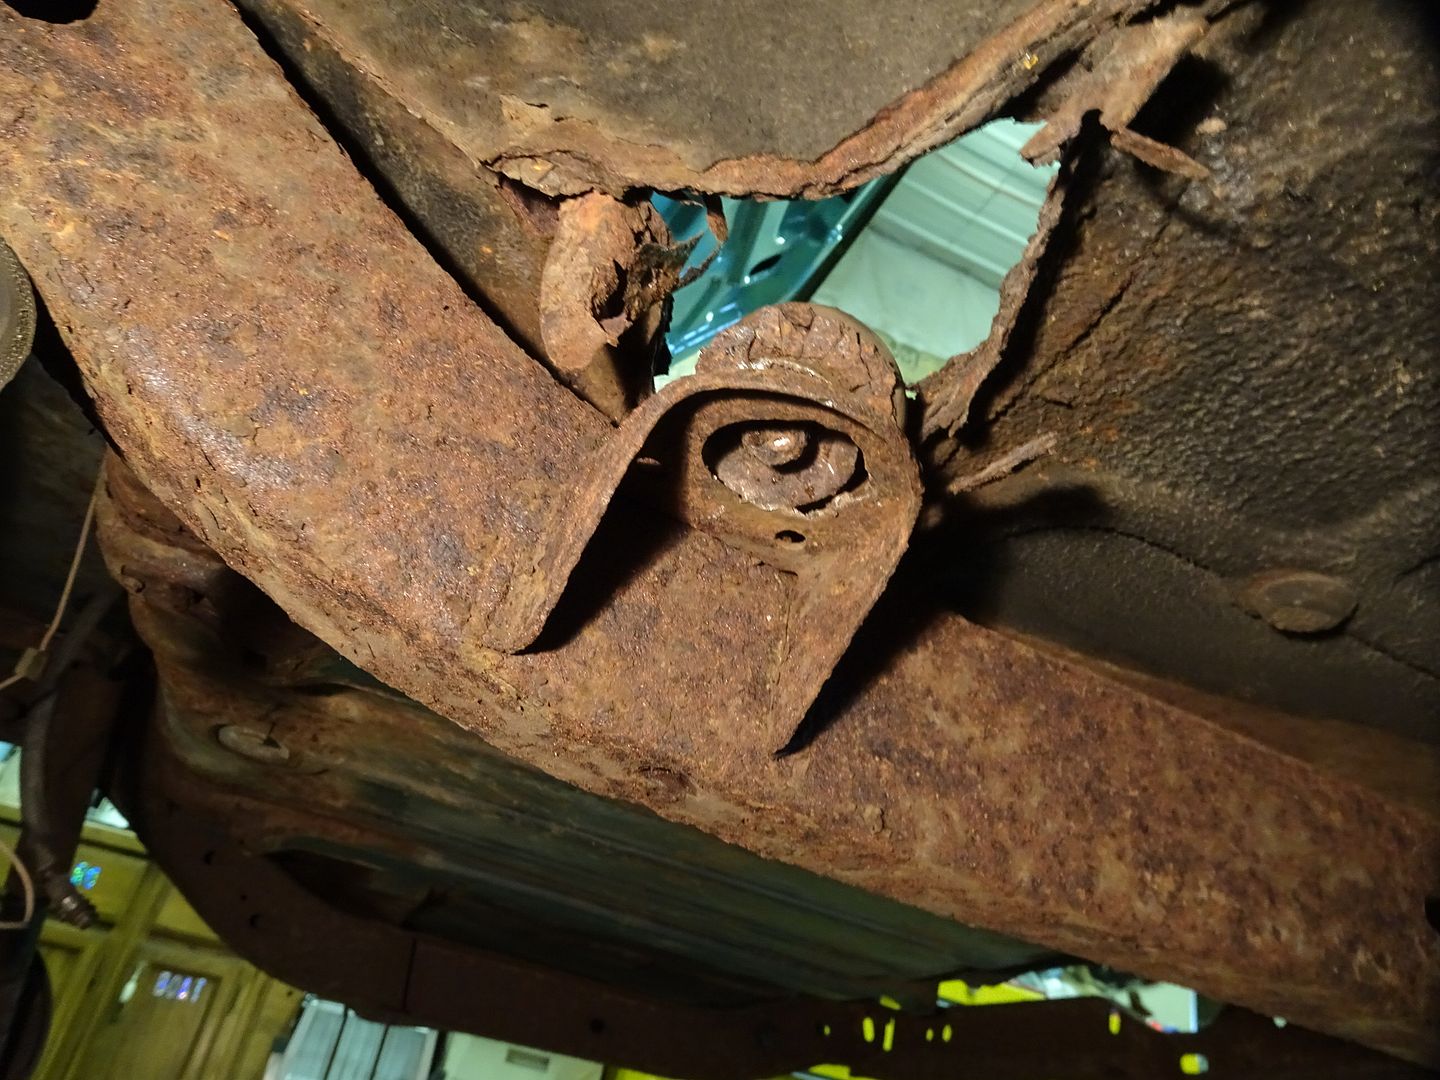

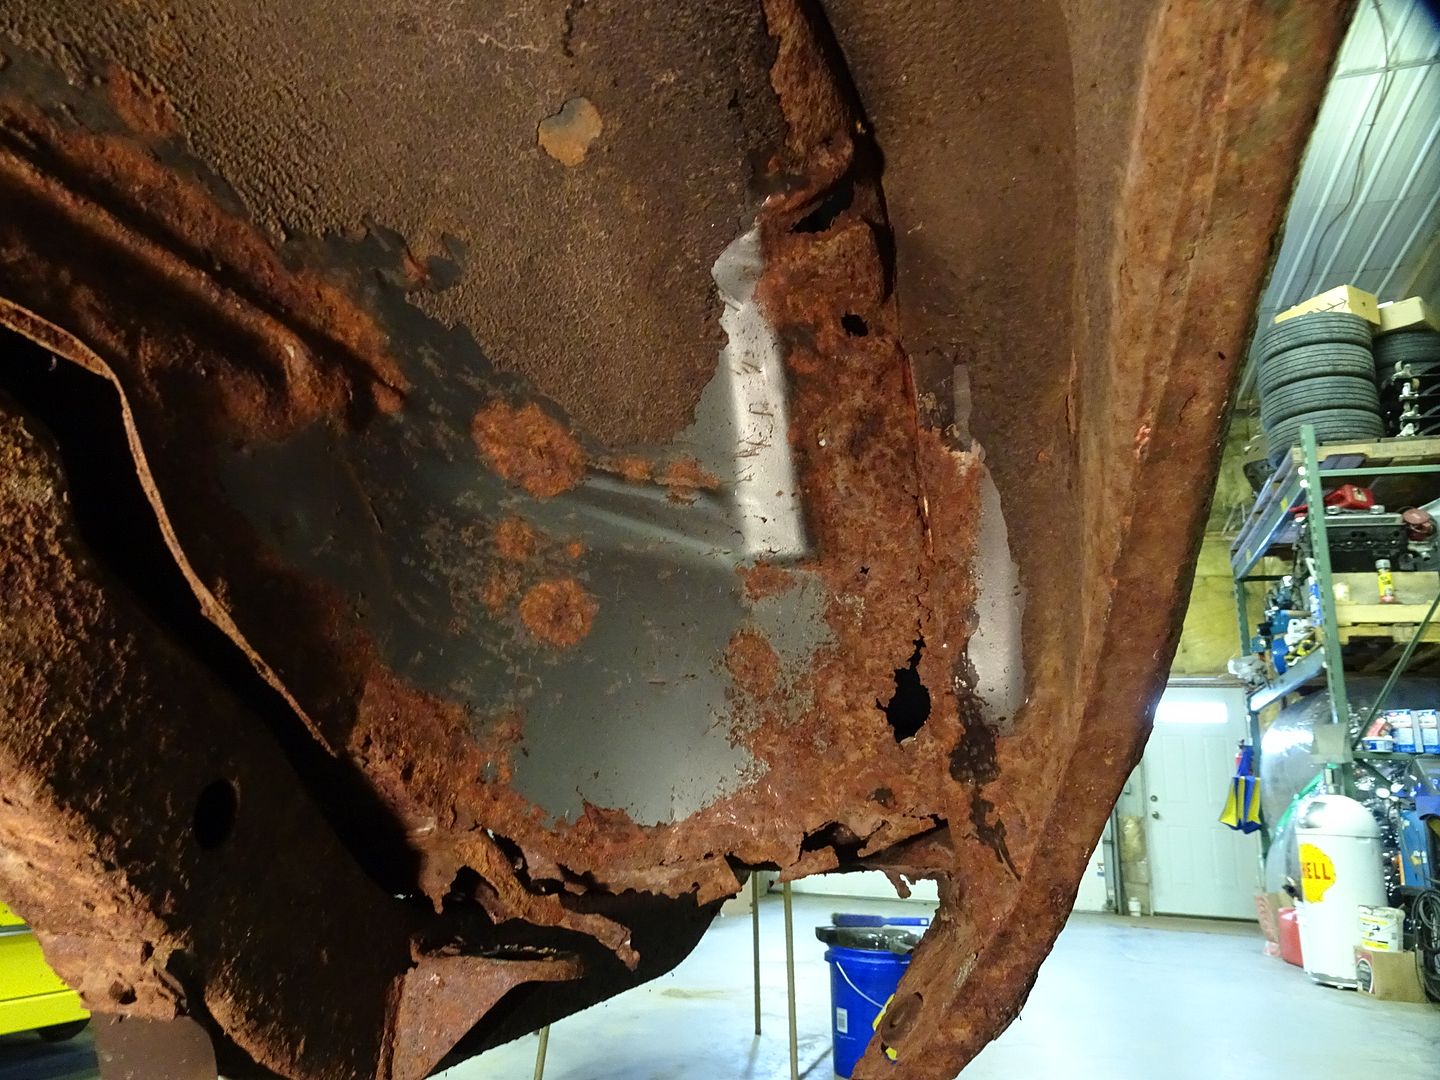


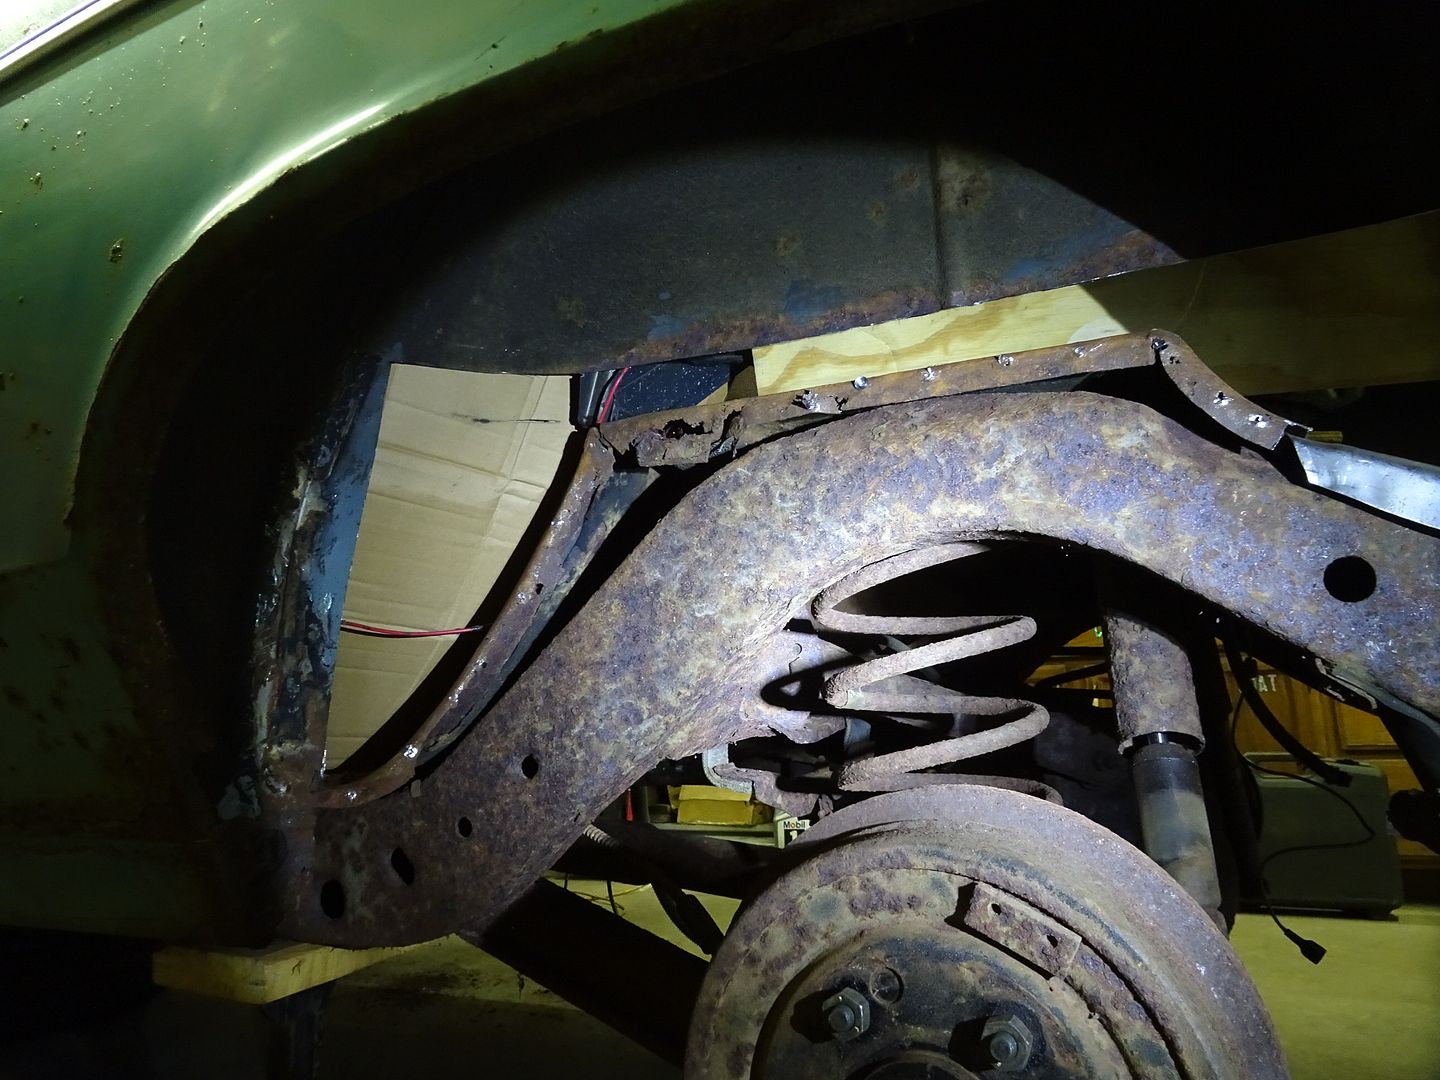
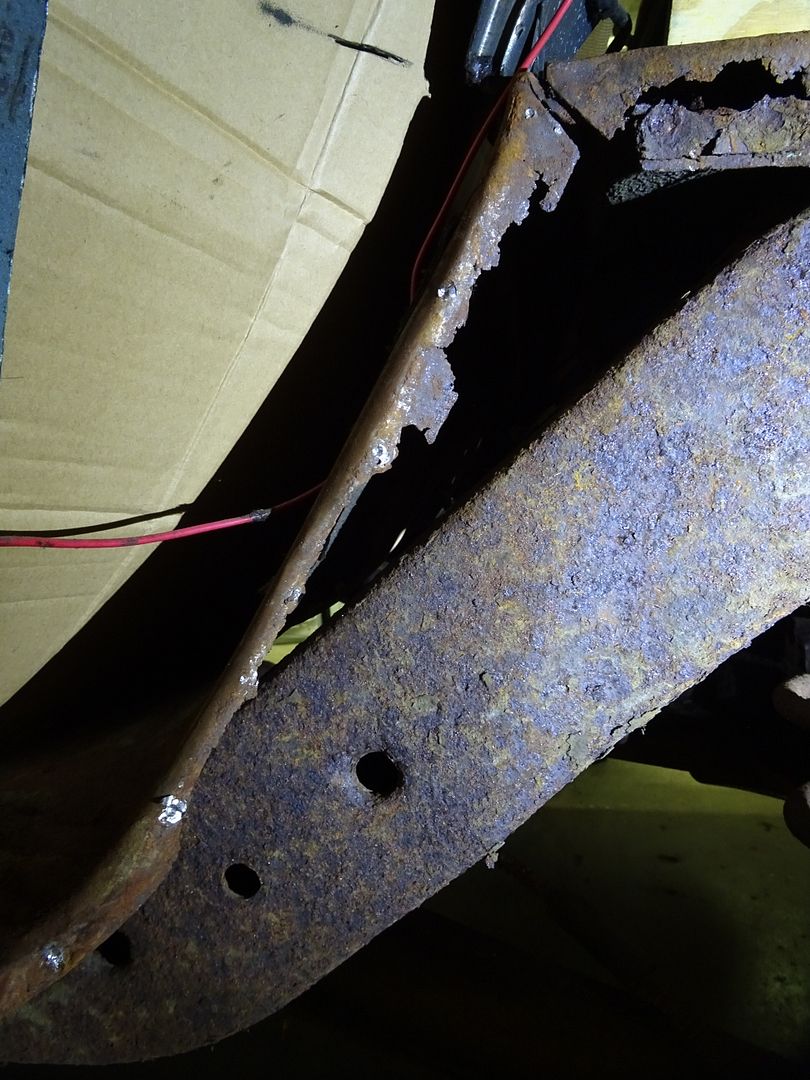
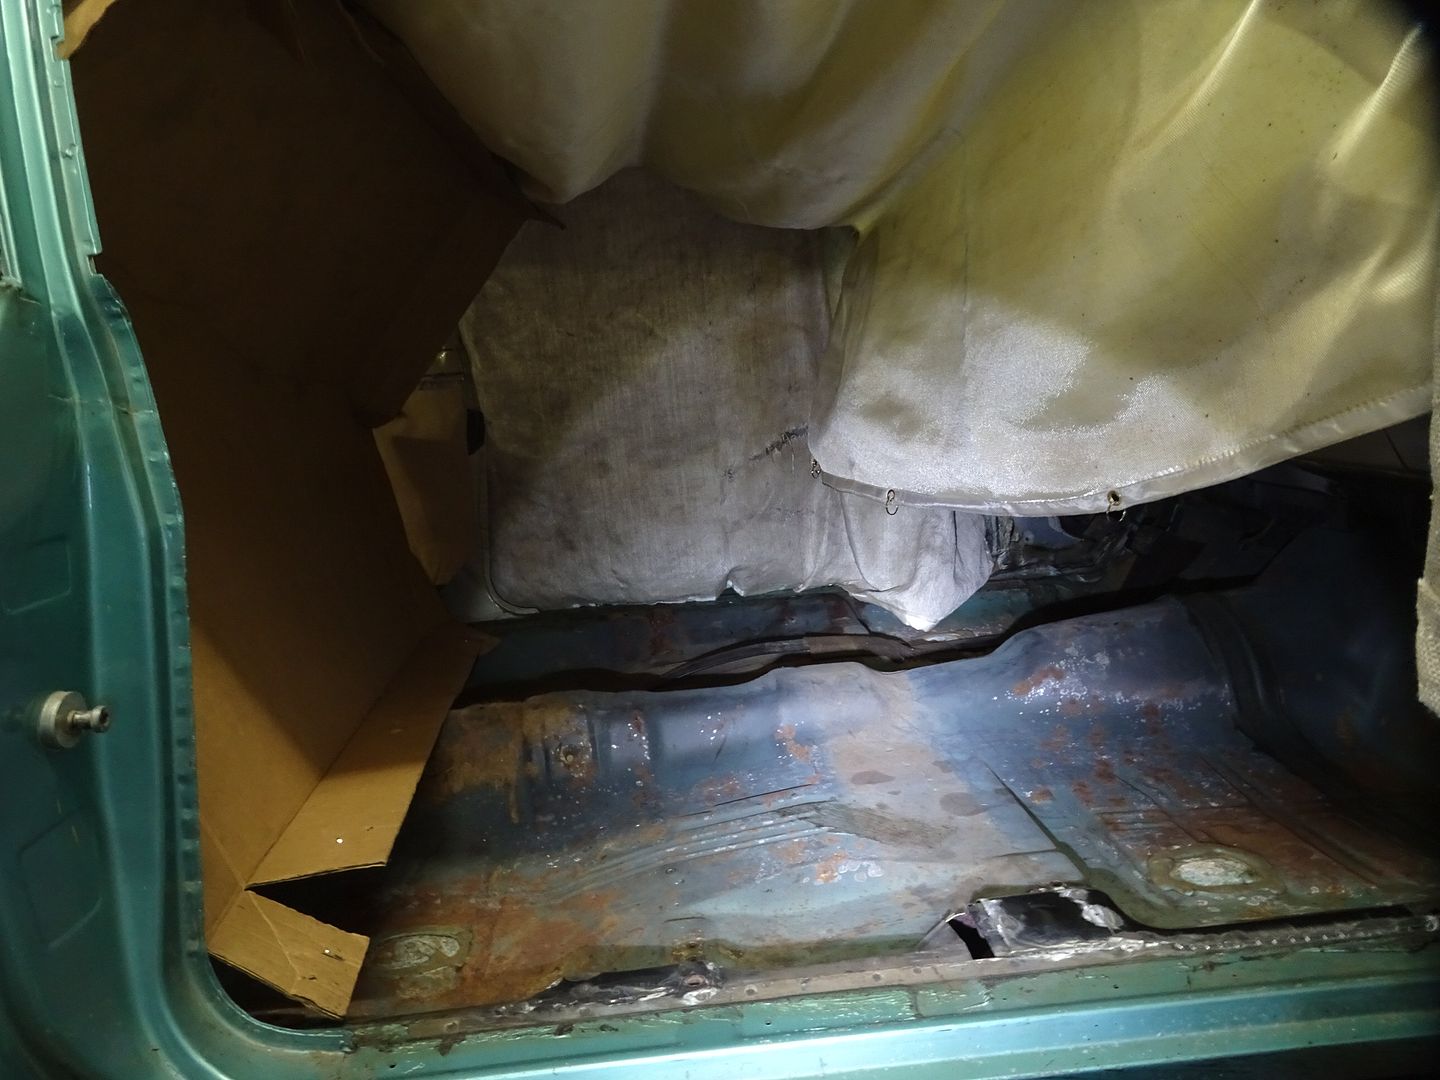
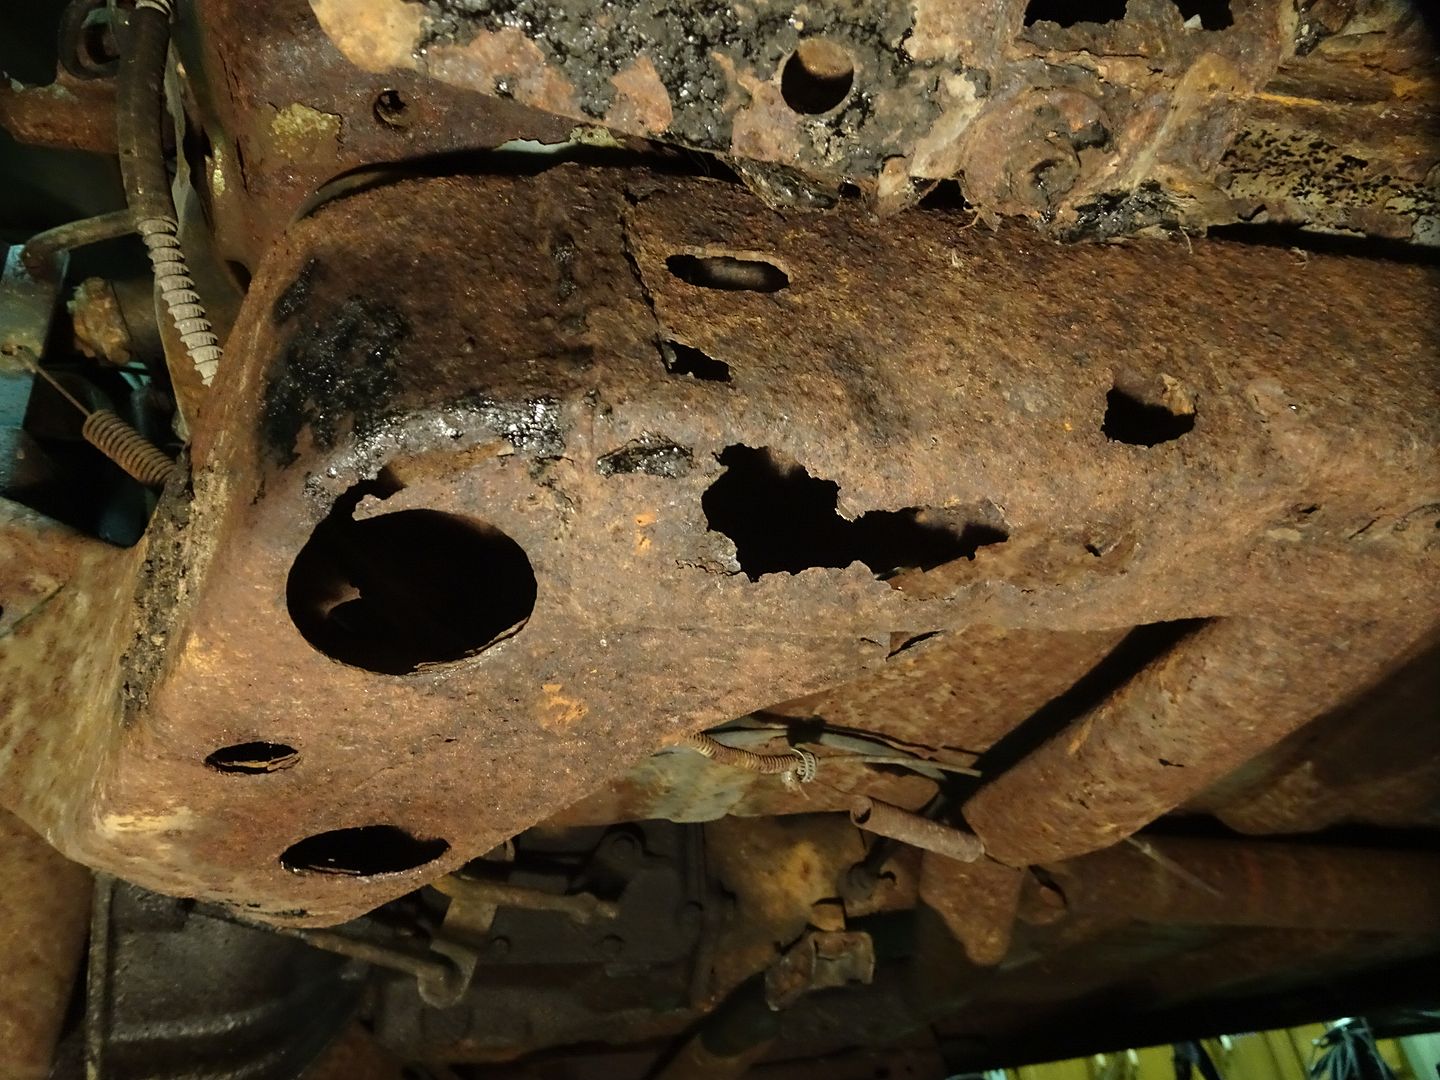
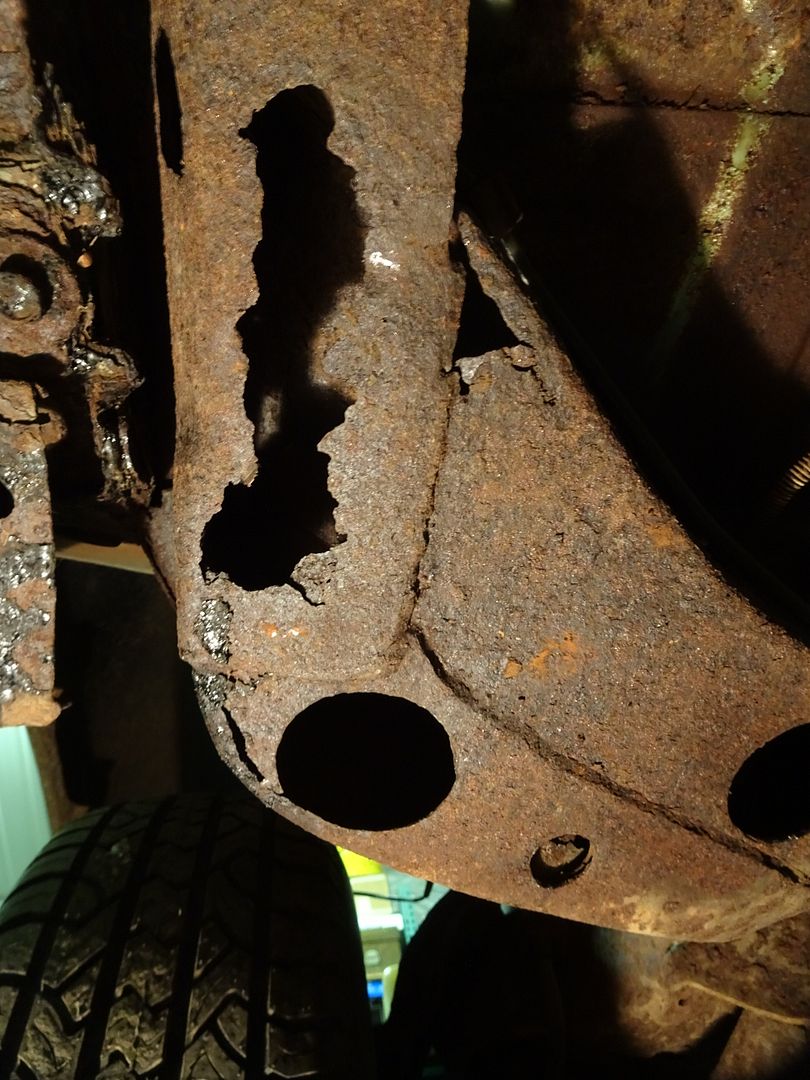
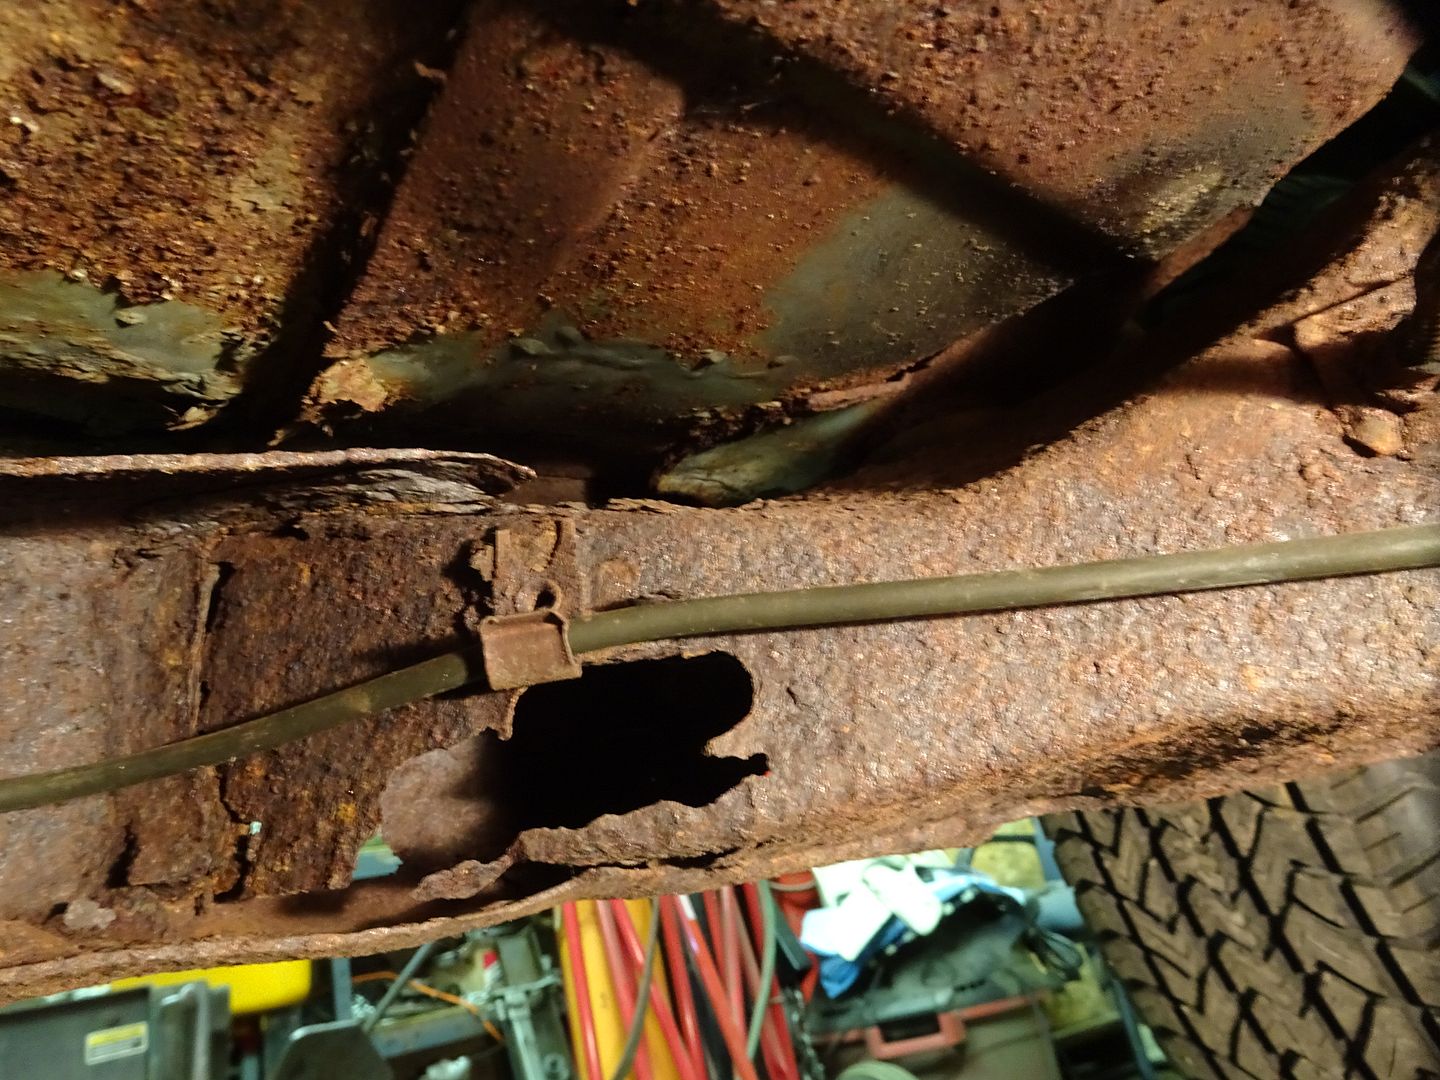
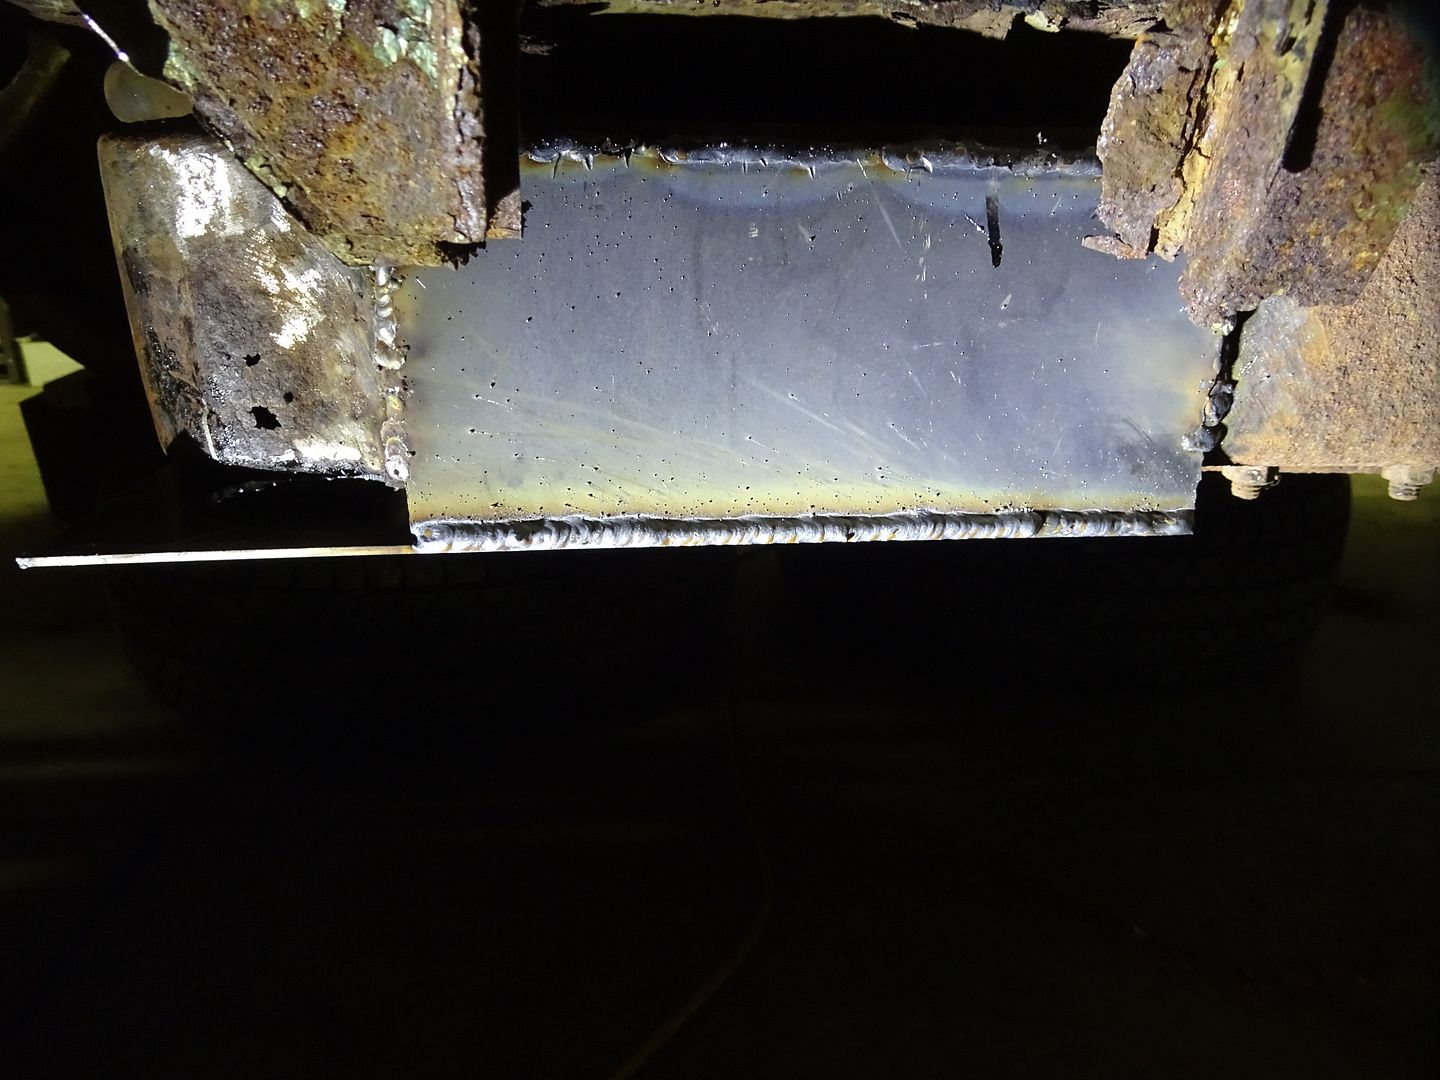
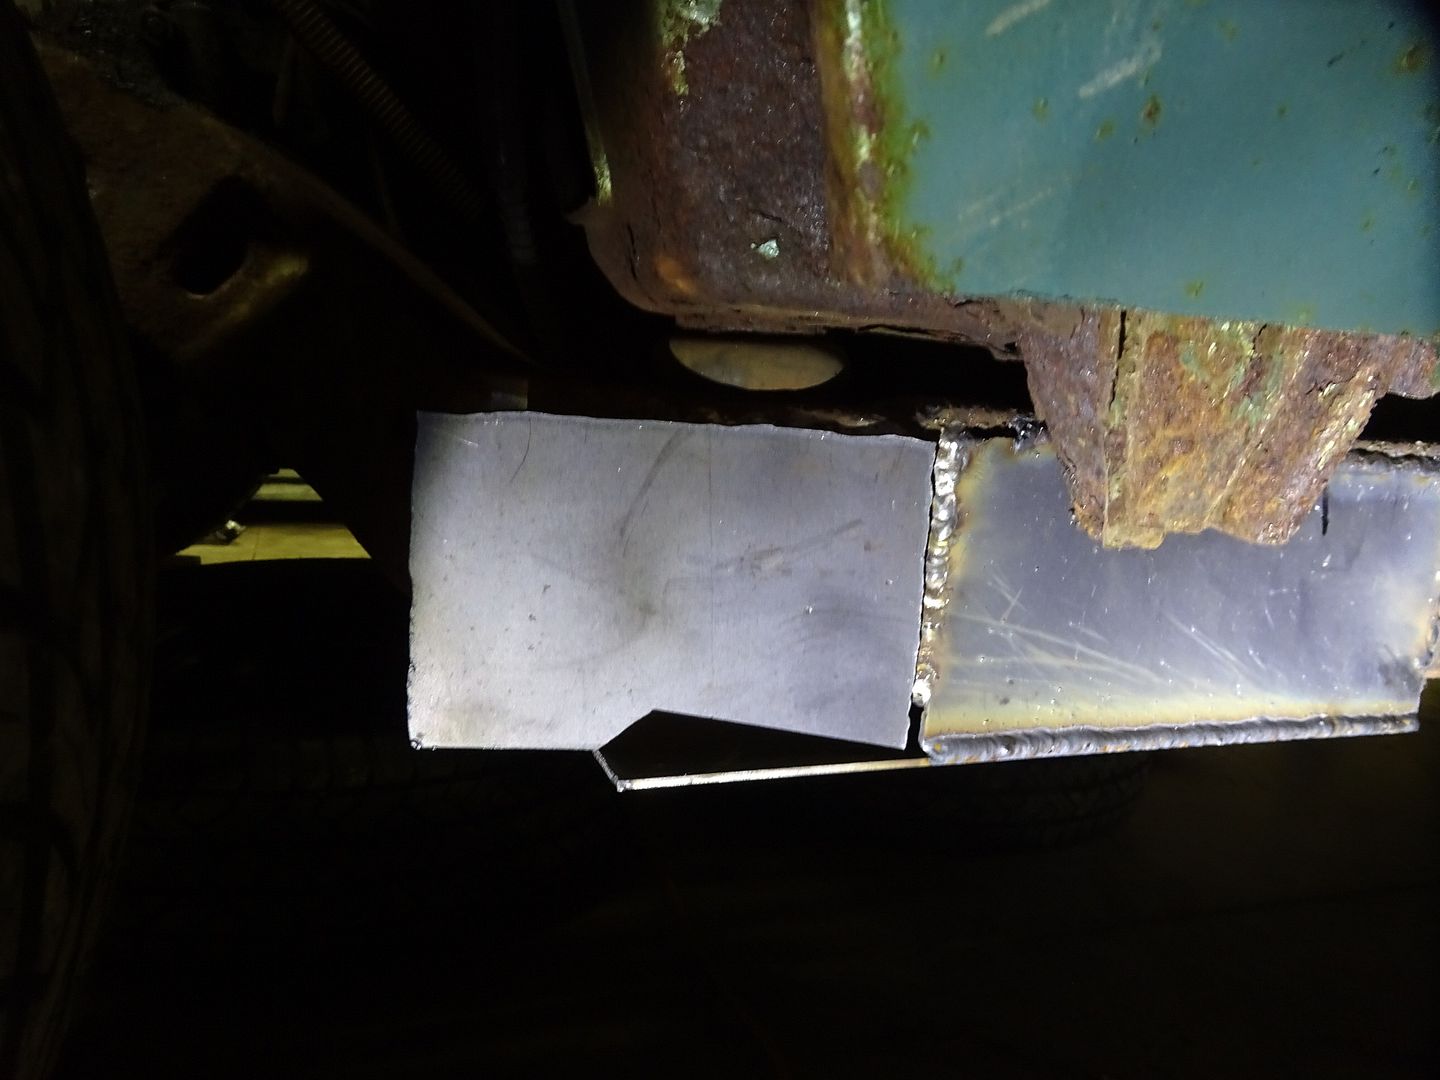
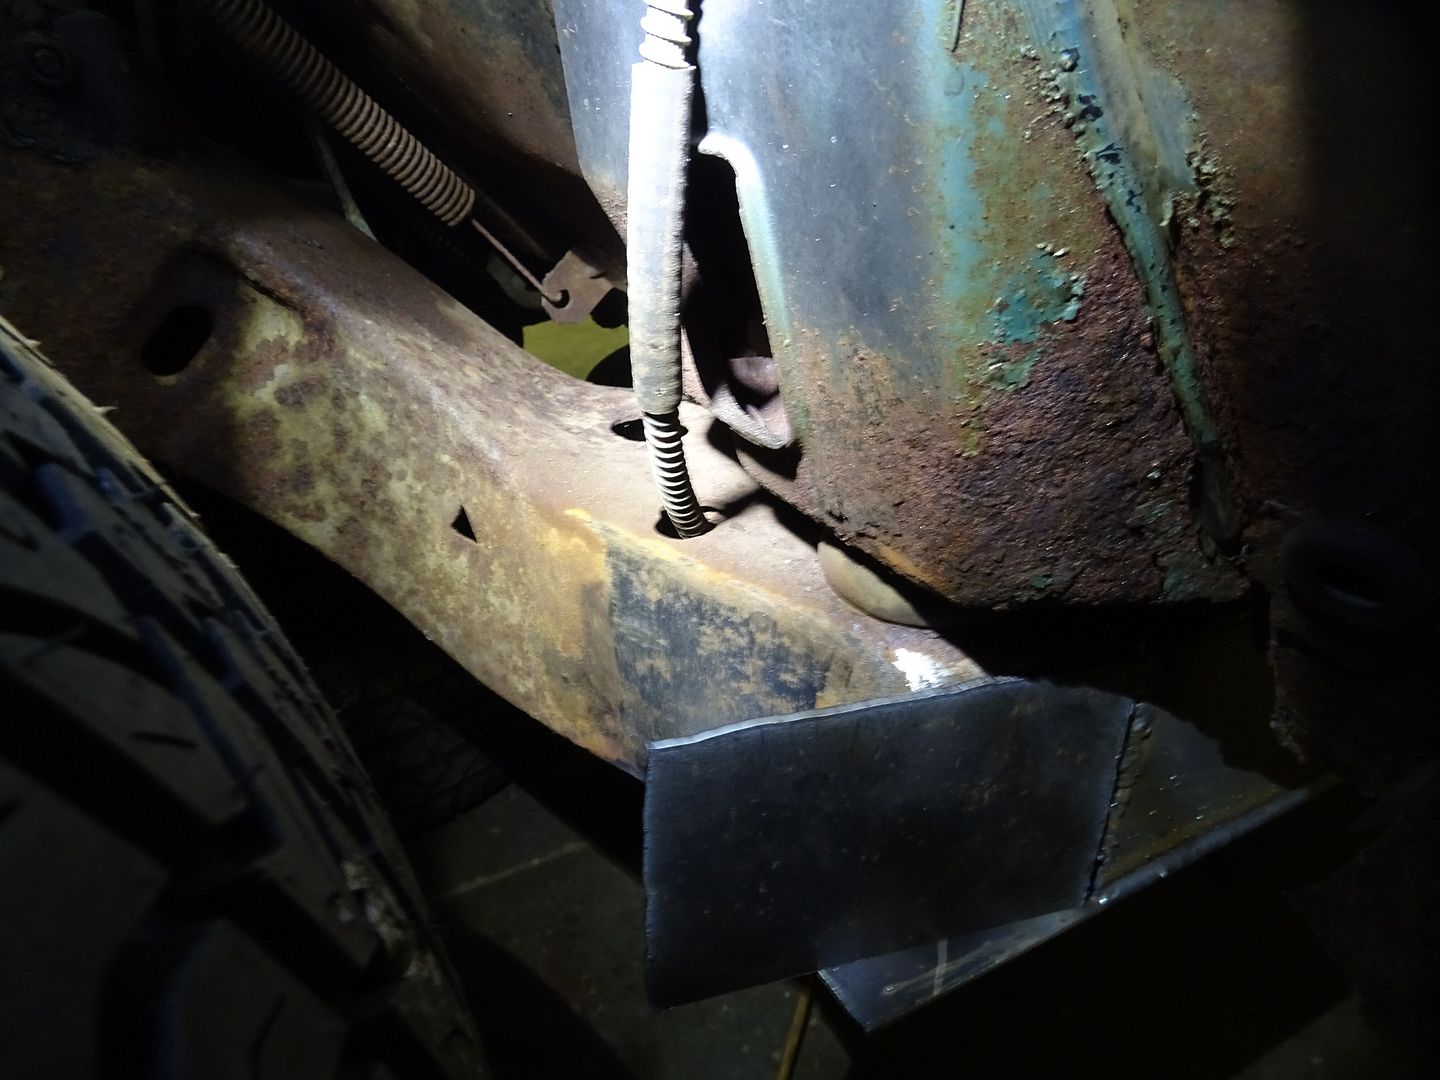
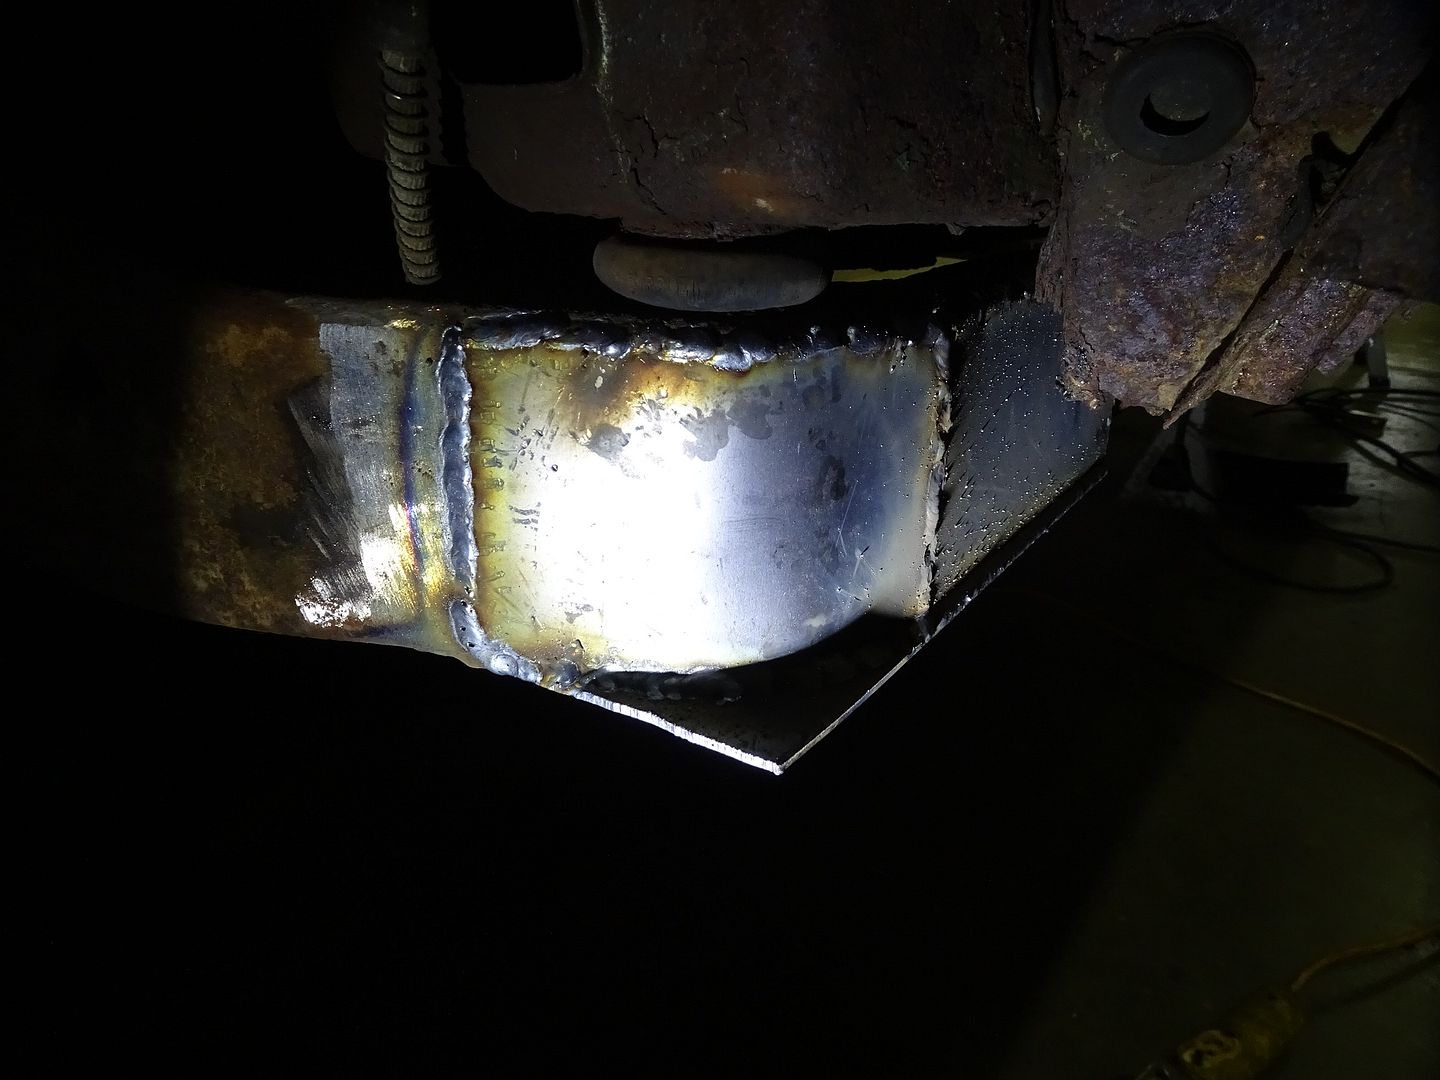
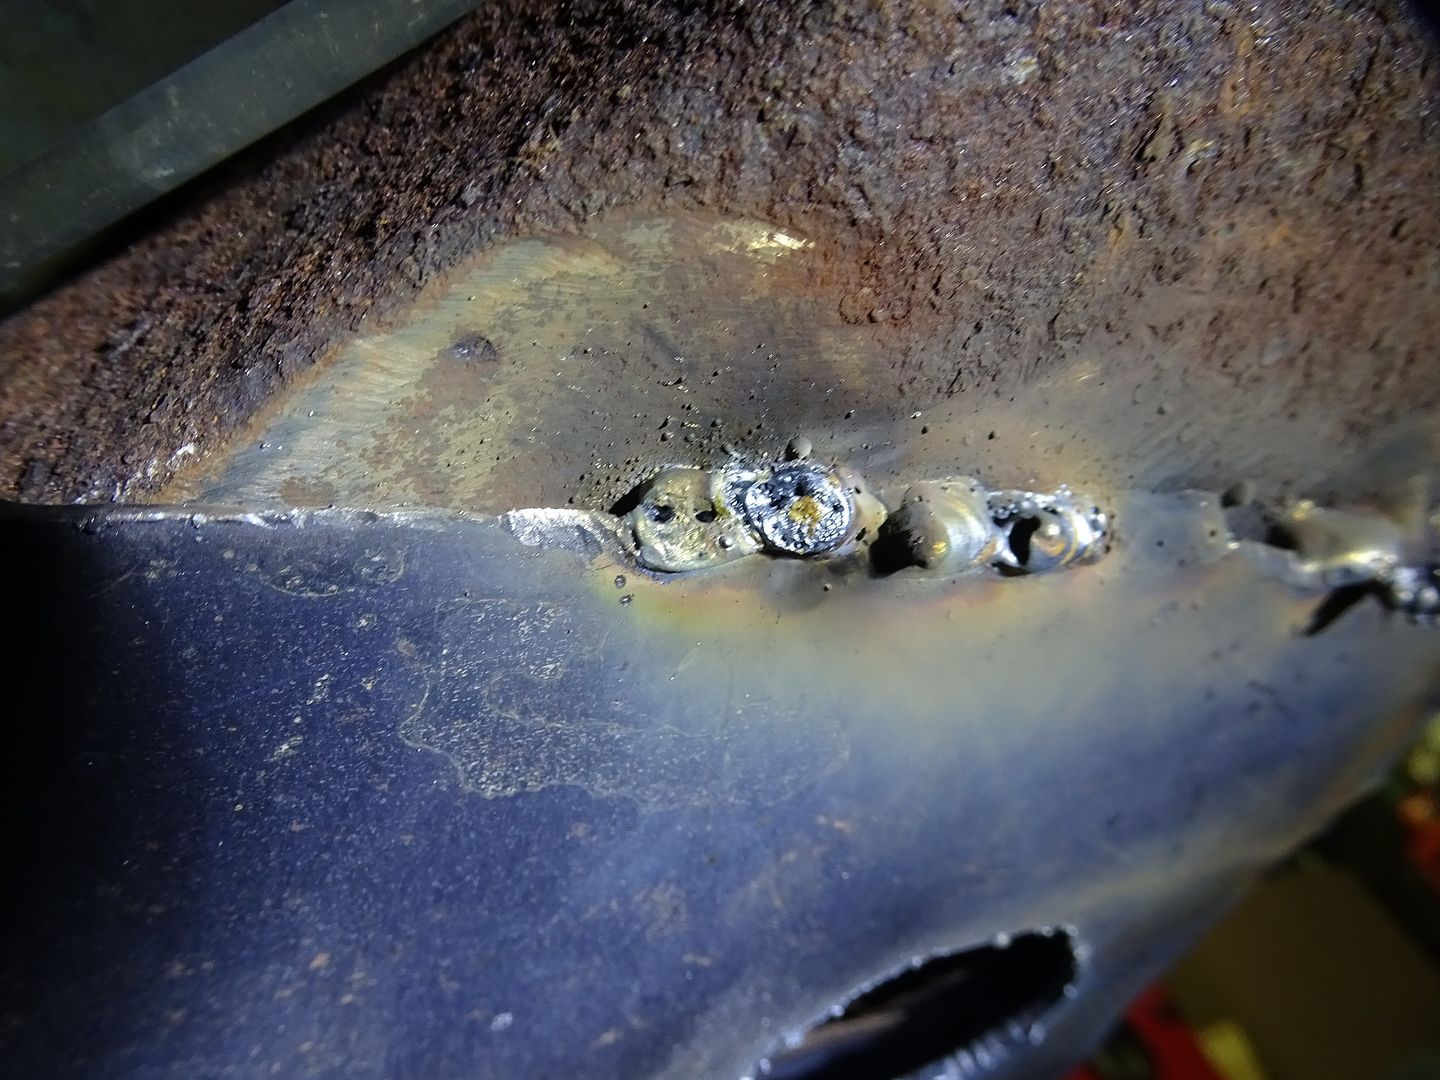
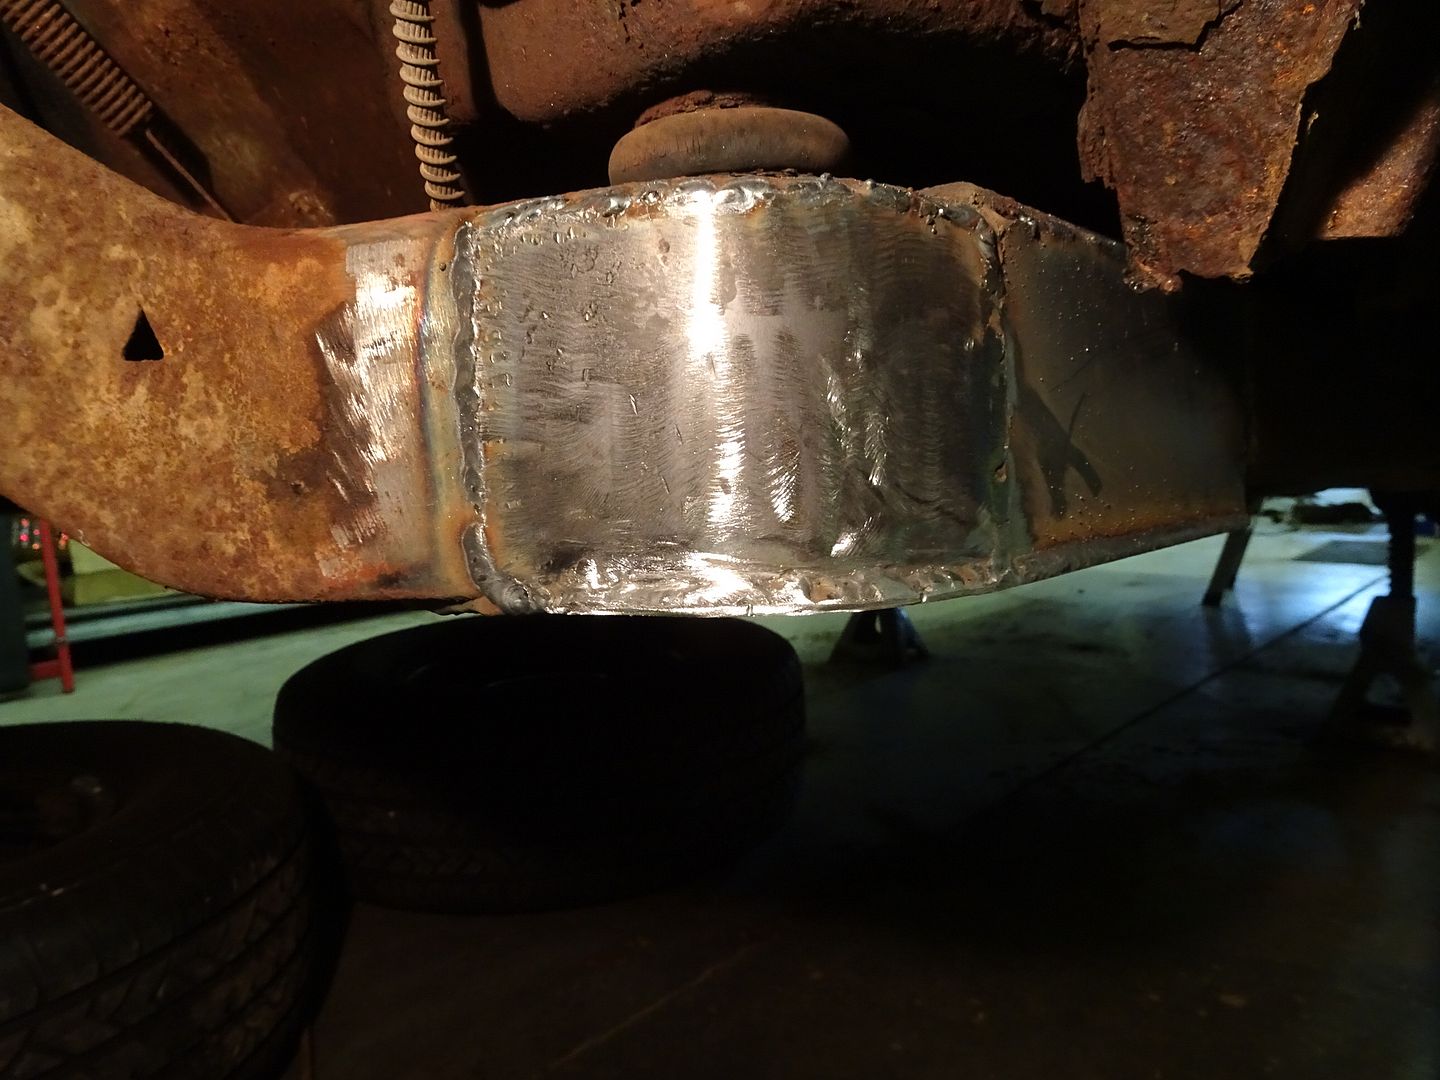
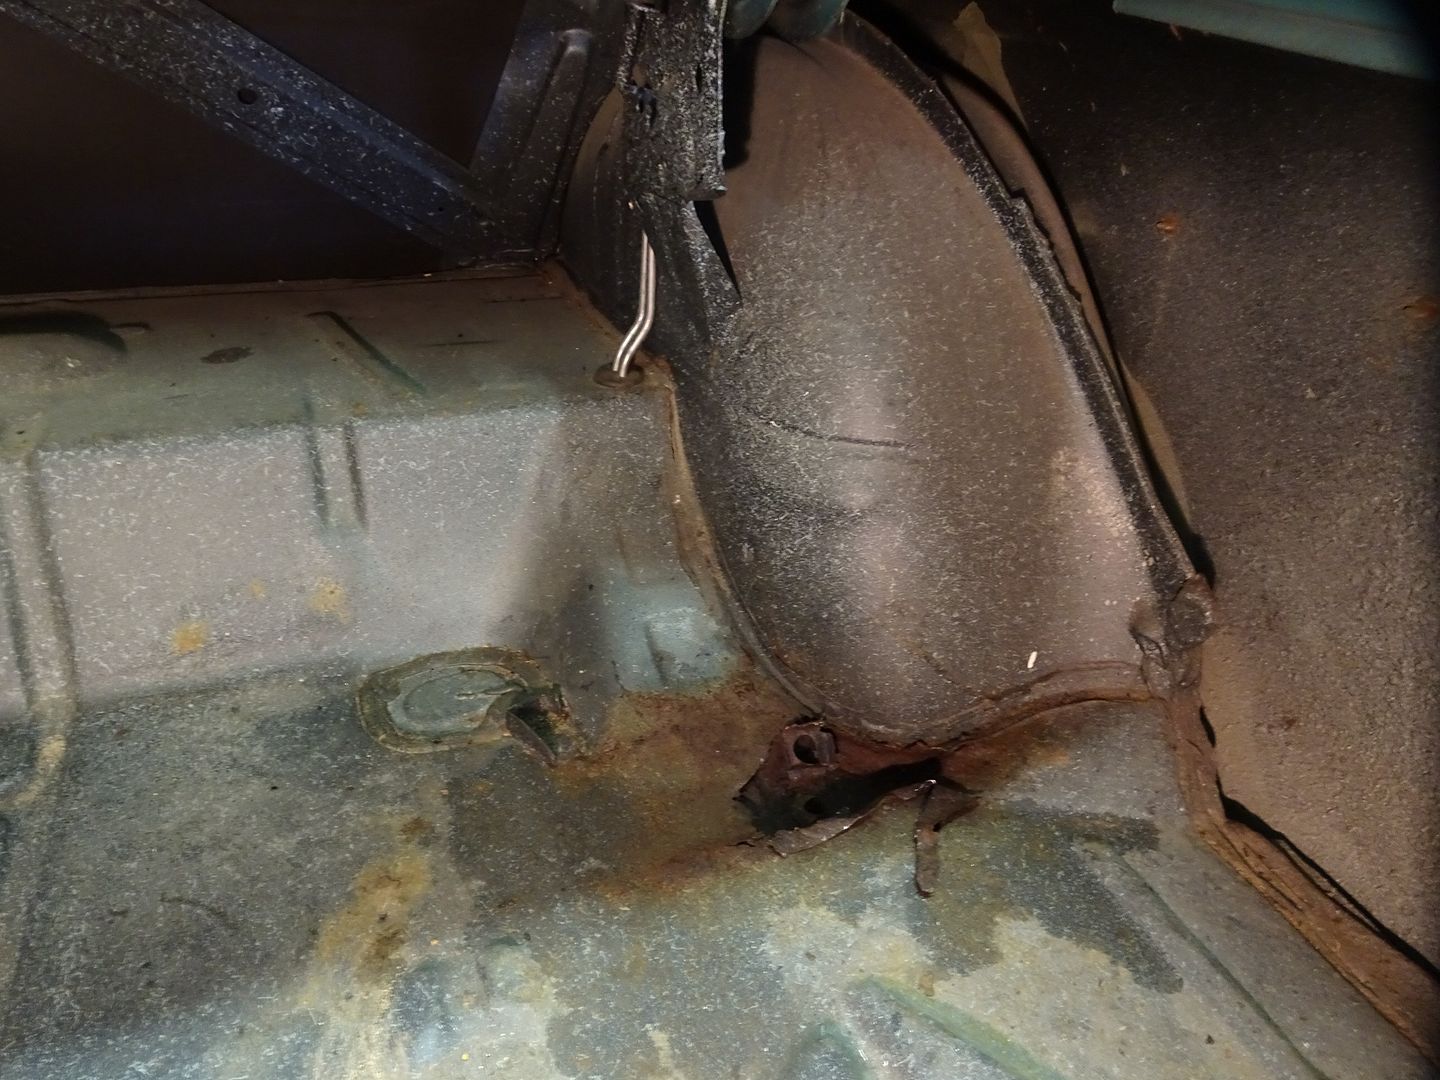
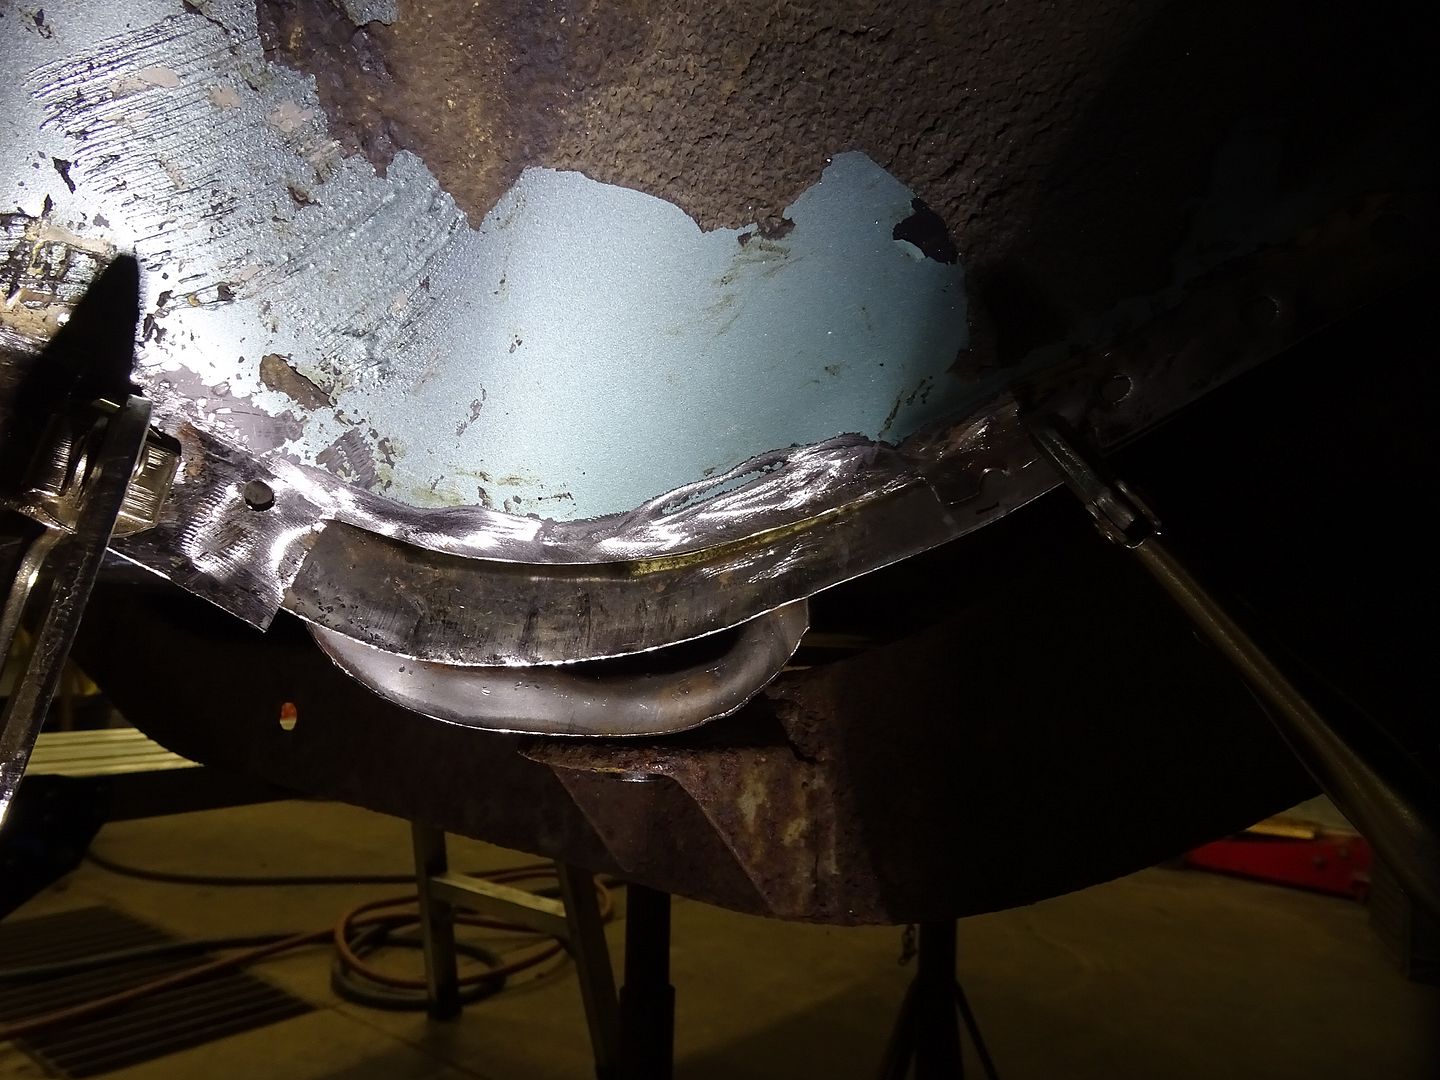
 Looks like Chris should upgrade to a boxed ElCamino frame and shorten to fit.


|
|
||
| Chatbox | |
|---|---|
|
Please log in to join the chat!
|
|