Discussion Forum - Northstar Chevelle Club

Members Login
Username 
 
Password 
    Remember Me  
Post Info TOPIC: Engine & 2004R finish rebuilding & getting ready for install


2K+ Club

Status: Offline
Posts: 2689
Date:
Engine & 2004R finish rebuilding & getting ready for install
Permalink  


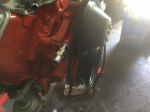
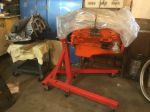
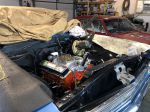
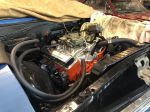
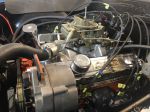
Hi everyone. I thought it better to put any questions and progress in one place.  It appears I may have installed the HB about 1/32-1/16 to far in as the crank/water pump looks to be about that much in.  Wondering if it is advisable to pull out the HB about 1/32 with a puller. Or maybe wait until engine is installed and alternator is mounted?

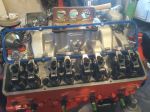
I think the oil leak is from a somewhat valve cover distortion, bolts torqued real tight,looks like metal limiters in the gasket.  One side  of valve  cover is straight but the other is not and that appears to be the location of the leak.  Is it advisable/possible to re-work the not so straight side?  This leak didn’t show on the Dyno.  It showed up when the engine was on a Stan and upside down for a few days.

The dust cover that came with TH350 won’t work with the 2004r and the 168 tooth flexplate.  Looks like Chris’s recommendation of a universal plastic cover is the way to go.


-- Edited by jim larson on Monday 5th of July 2021 01:08:46 PM

Attachments
__________________

Jim L

Lake City


Vice President

Status: Online
Posts: 477
Date:
Permalink  
 

There are sims available to shim out the HD. I would not just move the damper out without the sims.


__________________

Bob W.

Lino Lakes


2K+ Club

Status: Offline
Posts: 2689
Date:
Permalink  
 

Bobs_Place wrote:

There are sims available to shim out the HD. I would not just move the damper out without the sims.


 Can't seem to find them on a search, must be doing something wrong.


__________________

Jim L

Lake City


Vice President

Status: Online
Posts: 477
Date:
Permalink  
 

I got two packs of 10 shims .012" and .025 and used 4 of the .025s, I'll never us all of these, so the only problem is getting them to you!!


__________________

Bob W.

Lino Lakes


President

Status: Offline
Posts: 7274
Date:
Permalink  
 

Bobs_Place wrote:

I got two packs of 10 shims .012" and .025 and used 4 of the .025s, I'll never us all of these, so the only problem is getting them to you!!


 If he isn't in a hurry, you could sent via snail mail. Buy a small padded envelope for a few dollars at the PO.


__________________

Mitch D.   River Falls, WI

Lifetime member of the "Cars apart Club"

Some Assembly Required

1966 Chevelle SS 396 M20

1970 Chevelle SS 396 M20

1967 Camaro SS 350 rs


2K+ Club

Status: Offline
Posts: 2689
Date:
Permalink  
 

Bobs_Place wrote:

I got two packs of 10 shims .012" and .025 and used 4 of the .025s, I'll never us all of these, so the only problem is getting them to you!!


 Thanks for the offer Bob.  wondering if there is a way to measure the difference accurately. Everything is original gm except the HB. I suspect that may be the problem. What is involved when installing these shims?  Showing my lack of knowledge here, do the shims shim out the pulley at the 3 bolt holes and the center hole of the pulley?

It appears that a dust cover from a 78-86 a body dust cover with a V-6 with a 2004R trans may work for my sisuation.


-- Edited by jim larson on Tuesday 6th of July 2021 08:14:26 AM

__________________

Jim L

Lake City


Vice President

Status: Online
Posts: 477
Date:
Permalink  
 

I had the same issue with the engine in my boat. The engine is a 1974 350, same 010 block as yours, I put the short water pump on and found a misalignment in the pulleys, so I put shims on a head of the damper, between the crank timing sprocket and damper. I don't recall where or how I found them. They came in a "Precision Brand Product" package, pt#s 24254 & 24251 is what I have.

I am guessing the sprocket or the damper is the cause of the misalignment, remember, this engine assembly all used the long water pump except Corvette which was not the same short water pump as in your 66.

I would bolt the pulleys on the crank and pump, install the alt and belt, then put a straight edge along all the pulleys to verify the alignment of all pulleys.


__________________

Bob W.

Lino Lakes


2K+ Club

Status: Offline
Posts: 2689
Date:
Permalink  
 

Thanks Bob. Timing chain and sprocket appeared to have been changed around 1997 to a double roller chain. No problem with belts etc showed up in the 1 1/2 year I drove the car.  Alignment appears closer than I thought previously, didn't have the engine level on the engine stand, used the hoist to level the engine. i plan to run as is.  Looking for original bolts to install permanently today.


__________________

Jim L

Lake City


2K+ Club

Status: Offline
Posts: 2689
Date:
Permalink  
 

Looks like I will finally get the engine bay painted, hopefully this week. Red SS due out of storage this week.  

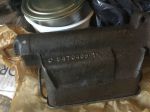
Bought an GM 1253160 trans inspection cover.   Suppose to fit the 2004R and Chevy SB.   Not 100% sure it fits the 168 tooth flexplate. Fingers crossed.


-- Edited by jim larson on Sunday 11th of July 2021 10:20:52 https://images.app.goo.gl/V2C5HmNgG3jY48FH7


-- Edited by jim larson on Sunday 11th of July 2021 10:23:06 AM

Attachments
__________________

Jim L

Lake City


2K+ Club

Status: Offline
Posts: 2689
Date:
Permalink  
 

Ran into a little issue.  I was cleaning everything back to the first floor brace so if there was any rust I could treat and paint.  Well I raining into some stuff that is hard as a rock.  Has the look of undercoating; but I don’t think it is that. I think it is something to help with noise.  Nothing wants to cut it.  Scrape, scrape, and scrape. Floors look great, no rust only I think original paint.  I have about 1/2 of it removed,  then I got to thinking, what is this and is there an easier way to get it off.  Any ideas?  Thanks.  I’ll add a photo tomorrow.


__________________

Jim L

Lake City


Vice President

Status: Online
Posts: 477
Date:
Permalink  
 

If it is the stuff that the factory put on as an under coating, try a heat gun, seems to soften it nicely, it will scrap off easily.


__________________

Bob W.

Lino Lakes


2K+ Club

Status: Offline
Posts: 2689
Date:
Permalink  
 

Photo


Attachments
__________________

Jim L

Lake City


2K+ Club

Status: Offline
Posts: 2689
Date:
Permalink  
 

Well Bob just a hair dryer makes it turn gooey.   Looks like I will remove it back to the first floor support.  Then use some eastwood product, then paint, and spray a similar product.  This car was shipped to and sold new in AZ from the KC plant.  I also discovered at sometime there was an under-dash AC unit similar to w hats in my SS.  I didn’t know that they  sprayed the tunnel with a product at the factory.  Appears to old for a previous owner to have put it in.  I wonder what I should spray in that area?   Thanks


__________________

Jim L

Lake City


Vice President

Status: Online
Posts: 477
Date:
Permalink  
 

My Impala floor are in great shape, all covered with that stuff, just needed to repair the rear body supports at the trunk area.


__________________

Bob W.

Lino Lakes


2K+ Club

Status: Offline
Posts: 2689
Date:
Permalink  
 

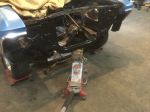
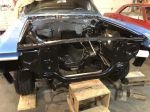
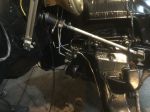
The cleaning and prep work never seems to end; but I can imagine the end.  Hoping to get the floor pan area done this week. Then I can think about starting to put things back together.  After that the engine will go in.  Here is a photo of the engine compartment.  Just a coat of paint on the frame section in the engine bay left.


Attachments
__________________

Jim L

Lake City


President

Status: Offline
Posts: 7274
Date:
Permalink  
 

Looks GREAT, Jim !!!
We'll have to find a way to get my leveler back down to you for install of the engine/trans assembly without scratching any of that purdy paint.

__________________

Mitch D.   River Falls, WI

Lifetime member of the "Cars apart Club"

Some Assembly Required

1966 Chevelle SS 396 M20

1970 Chevelle SS 396 M20

1967 Camaro SS 350 rs


2K+ Club

Status: Offline
Posts: 2689
Date:
Permalink  
 

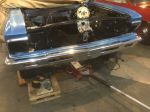
Made some progress.  Need to clean and paint the grill tomorrow then  install Tuesday along with headlight housings. I do have a couple of questions.  The Power disc brake distribution block has the brake warning light which the 66 doesn’t have.  I took it off looking for indicator that it is in the correct position;  but I really don’t understand what I am looking for.  Is there a photo out there?  The other issue might be the forward wiring harness.  Is there some way to check that all that is working before installing the engine. Oh I forgot,  is it OK to install the PB booster or should I wait until the engine is in?


Attachments
__________________

Jim L

Lake City


2K+ Club

Status: Offline
Posts: 2439
Date:
Permalink  
 

Good to see you’re back at it Jim. When is the drivetrain going in?


__________________

Kevin

Northwestern Ohio


Vice President

Status: Online
Posts: 477
Date:
Permalink  
 

jim larson wrote:

Made some progress.  Need to clean and paint the grill tomorrow then  install Tuesday along with headlight housings. I do have a couple of questions.  The Power disc brake distribution block has the brake warning light which the 66 doesn’t have.  I took it off looking for indicator that it is in the correct position;  but I really don’t understand what I am looking for.  Is there a photo out there?  The other issue might be the forward wiring harness.  Is there some way to check that all that is working before installing the engine. Oh I forgot,  is it OK to install the PB booster or should I wait until the engine is in?


 The distribution block switch just needs to be wired to the parking/emergence brake indicator light cricuit, there is no indictor other than the switch that is connected to the "BRAKE" light in the dash.


__________________

Bob W.

Lino Lakes


2K+ Club

Status: Offline
Posts: 2689
Date:
Permalink  
 

Thanks guys.  Supposedly there is some kind of valve inside the distribution block just below the switch that you are suppose to make sure it  is in the correct position so that the fluid goes to the rear and front brakes.  If this valve is not in the correct position things don’t  work as their designed to.

Regarding hoking it up,  it was not hooked up when I got the car.  Bob are you saying I can hook it up if I want too?


__________________

Jim L

Lake City


Vice President

Status: Online
Posts: 477
Date:
Permalink  
 

As I recall, you have 1970 or earlier brake valves, these years used three separate valves, a distribution, metering and proportioning valve, in 1971 (I think) the distribution valve was replaced with a combination valve that included the metering and proportion valves. So the button you are looking for is on the back side of the metering valve, mounted near the booster/master cyl.  If you have a later comb. valve, that's where you would find the button. The button is used to help with bleeding the front brakes, not the rears.

The "valve inside the distribution block just below the switch" is only for the dash "BRAKE" light warning, it signals the driver in case of a loss of brake pressure/loss of fluid, it will auto reset when repairs are made and brake pressure returns to normal.

The switch on the valve is wired to the park brake indicator, so either the park brake or the switch on the distribution valve will trigger the dash "BRAKE" warning light.


__________________

Bob W.

Lino Lakes


President

Status: Offline
Posts: 7274
Date:
Permalink  
 

From what I've learned about brakes and swapping over the years....on '67-'71/72, not certain when this changed, Chevelles, there is a hold off, metering, valve mounted to the master that the front line goes thru to delay fluid from the front brakes for a fraction of a second. Both lines from the master, then go to the distribution block on the frame. That is only for distribution and the brake warning light valve. It does not proportion the fluid further, but it should have the piston that prevents fluid from going to a circuit that has a sudden loss, or in the case of bleeding, will trip to block the front circuit after getting pressure to the rears only.
When bleeding brakes, especially all 4 with a new install, I gravity bleed the 4 corners to get fluid before using pressure to bleed further. This process, usually, eliminates the piston from moving and stopping flow from the front while bleeding rears, or vice versa.

Most, if not all, aftermarket distribution valves are proportioning also, except for exact replacement blocks for pre-dual circuit systems.

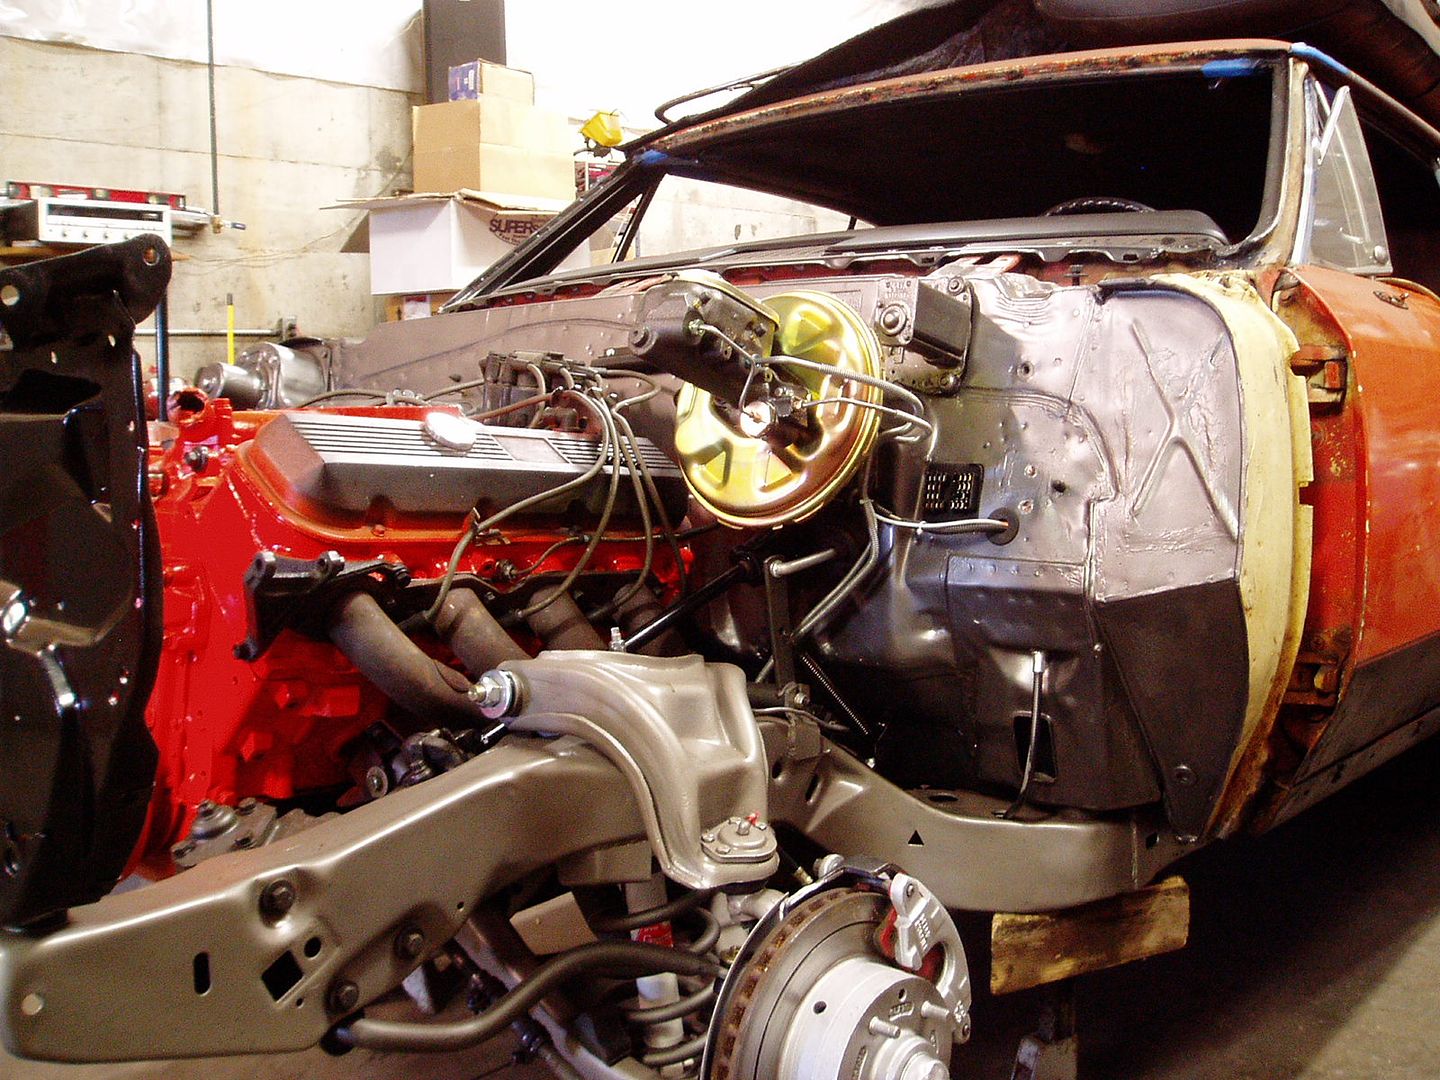
This is a pic of my '66 when I swapped to '69 single piston disc brakes. The master and hold off are direct replicas of 1967 Chevelle parts. I used a '67 distribution block for the dual circuit master. I don't recall if the '67 had the brake light, but I think it does.

My '70 Chevelle has the same exact set up, but for certain with the switch for the brake light.

P3230001_zpse19d0526.jpg?width=1920&heig


__________________

Mitch D.   River Falls, WI

Lifetime member of the "Cars apart Club"

Some Assembly Required

1966 Chevelle SS 396 M20

1970 Chevelle SS 396 M20

1967 Camaro SS 350 rs


2K+ Club

Status: Offline
Posts: 2689
Date:
Permalink  
 

I have a distribution block and a proportioning valve.  No metering valve.  I replaced the MC because it was leaking bad. I got that from the right stuff.  The proportioning valve is way back by the rear axel.  I also replaced the two lines from the MC to the distribution block, again from the right stuff.  I gave them the gm # off the MC,  i think they said there has no metering valve and this was for a chevelle, not sure what year they said.  I think I still have that old MC in the garage.  I will check that and post some photos.


__________________

Jim L

Lake City


2K+ Club

Status: Offline
Posts: 2689
Date:
Permalink  
 

I was told this was from a 70-72 Chevelle with power front disc and rear drum, with no bleeders. Brakes worked fine before and after the replacement of MC and lines to distribution block.


-- Edited by jim larson on Tuesday 3rd of August 2021 08:12:07 AM

Attachments
__________________

Jim L

Lake City


Vice President

Status: Online
Posts: 477
Date:
Permalink  
 

The master is the same as what came on my 1970 car, but the frame mounted valve appears to be a combination not a distribution valve, if that is the case I would remove the proportioning valve on the rear cross member. There is a proportioning valve included in the combination valve, so the rear frame mounted in not needed and may be reducing the brake pressure more than necessary.


__________________

Bob W.

Lino Lakes


Vice President

Status: Online
Posts: 477
Date:
Permalink  
 

Also I think the combination should be remounted, turned 90* or so, I think it may trap air the way it sits and not bleed properly.


__________________

Bob W.

Lino Lakes


2K+ Club

Status: Offline
Posts: 2689
Date:
Permalink  
 

Bobs_Place wrote:

Also I think the combination should be remounted, turned 90* or so, I think it may trap air the way it sits and not bleed properly.


 Thanks Bob, the valve was mounted in the holes as is.  I don’t think any of the 3 lines will fit if I rotate it 90* .  It worked fine before and I didn’t notice a problem when I bleed the brakes after the MC change.  Maybe that’s what my friend was referring too when he said I had to make sure the piston below the light switch had to be in the center position, not up or down.  I wonder if a PO just left the proportioning  valve in for convince.


__________________

Jim L

Lake City


Vice President

Status: Online
Posts: 477
Date:
Permalink  
 

jim larson wrote:
Bobs_Place wrote:

Also I think the combination should be remounted, turned 90* or so, I think it may trap air the way it sits and not bleed properly.


 Thanks Bob, the valve was mounted in the holes as is.  I don’t think any of the 3 lines will fit if I rotate it 90* .  It worked fine before and I didn’t notice a problem when I bleed the brakes after the MC change.  Maybe that’s what my friend was referring too when he said I had to make sure the piston below the light switch had to be in the center position, not up or down.  I wonder if a PO just left the proportioning  valve in for convince.


 The piston will center when there is brake pressure in the front and rear circuits, hook a test light to the switch, if the light is not lit the piston is centered.


__________________

Bob W.

Lino Lakes


Active Member

Status: Offline
Posts: 461
Date:
Permalink  
 

The pictures show what a great job you have done on all the details. You have obviously spent hours cleaning and painting.

__________________

Larry L.

Coon Rapids


2K+ Club

Status: Offline
Posts: 2689
Date:
Permalink  
 

Larry Lucast wrote:

The pictures show what a great job you have done on all the details. You have obviously spent hours cleaning and painting.


 Floor between 1st and 2nd floor braces is ready for paint, just a spray can, plan to do that tomorrow am.  Then done with painting except for a little touch up here and there.   Then time to check out the wiring harness as to make sure that all works.  Ohh forgot for a moment that messy brake bleed, hope to have that done this week.


__________________

Jim L

Lake City


2K+ Club

Status: Offline
Posts: 2689
Date:
Permalink  
 

Bobs_Place wrote:

Also I think the combination should be remounted, turned 90* or so, I think it may trap air the way it sits and not bleed properly.


 Well BOB I decided to leave the combination valve as is as its been working that way since at least 1997. Keeping fingers  crossed.  I did however removed the  valve at the rear.  I kind of wished I had access to replace the bleeders with those that don’t allow air to come back in.


__________________

Jim L

Lake City


2K+ Club

Status: Offline
Posts: 2689
Date:
Permalink  
 

Just a little touch up left.  Everything just about ready for engine/trany install.


Attachments
__________________

Jim L

Lake City


Vice President

Status: Online
Posts: 477
Date:
Permalink  
 

You shouldn't have any problem bleeding the front as the air in the forward part distribution valve will bleed out the left front caliper.  The rear circuit may trap some air at the back of the distribution valve however, it may not be much and should lt make it way back to the master, just have to try it.


__________________

Bob W.

Lino Lakes


2K+ Club

Status: Offline
Posts: 2689
Date:
Permalink  
 

Once again Mitch to the rescue.  He came down yesterday and installed the engine transmission.  Now all I need to do is install the driveshaft, steering linkage etc.  Hope to have it drivable soon.

Ran  into a little problem, evidently there is a different SB starter brace when you put in a large 168 tooth flexplate and original HT Delco starter.  If you know anything regarding this brace could you relay that to me.  It might be GM 3965589.


Attachments
__________________

Jim L

Lake City


2K+ Club

Status: Offline
Posts: 2689
Date:
Permalink  
 

Hoping to turn the key Tuesday. 


Attachments
__________________

Jim L

Lake City


President

Status: Offline
Posts: 7274
Date:
Permalink  
 

Looking good. Could be driving it on your target date...thumbsup
I'm assuming you plan to put the shroud in before clamping the upper hose ...headscratch


__________________

Mitch D.   River Falls, WI

Lifetime member of the "Cars apart Club"

Some Assembly Required

1966 Chevelle SS 396 M20

1970 Chevelle SS 396 M20

1967 Camaro SS 350 rs


2K+ Club

Status: Offline
Posts: 2689
Date:
Permalink  
 

Engine and trans are in the car and running.  An issue with the starter making two much noice, going to shim the starter today.

Trans68E9363F-C5A3-41B7-8B96-97AED884F3A5.jpeg shifts through all gears and appears to operate correctly.  Need to be road drive now to fully check it out.  I had an issue hooking up the TV cable to an old 4160 Holley.  Nothing available; but John my transmission guy has got it figured out.


Attachments
__________________

Jim L

Lake City


2K+ Club

Status: Offline
Posts: 2689
Date:
Permalink  
 

Just need to fix a ps leak.


https://share.icloud.com/photos/0LZ4dSRR6Y46mRyFnuISXBZkQ#Lake_City


-- Edited by jim larson on Sunday 19th of September 2021 01:01:14 PM

__________________

Jim L

Lake City


Vice President

Status: Online
Posts: 477
Date:
Permalink  
 

Jim

Look at the video, looks like the steering shaft going into the rag joint is not inserted far enough. I see the notch where the pinch bolt goes.

Remove the bolt slide the shaft in reinstall the bolt, so it interfaces the notch. The steering shaft WILL fall out of the foreword part of the rag joint.

Don't drive it like this!!!hyper


__________________

Bob W.

Lino Lakes

Page 1 of 1  sorted by
 
Quick Reply

Please log in to post quick replies.

Chatbox
Please log in to join the chat!