Discussion Forum - Northstar Chevelle Club

Members Login
Username 
 
Password 
    Remember Me  
Post Info TOPIC: Cars Apart - 72' LSx/ 200-4r Winter Projects


Active Member

Status: Offline
Posts: 195
Date:
Cars Apart - 72' LSx/ 200-4r Winter Projects
Permalink  


I have picked up parts from a few members within the last month so I figured I would post my winter project.

This is how it went in the garage in October. There was quite a few loose ends I didn't tie before getting it back on the road, some squeaks and rattles that need quieting as well as a few performance improvements I am making.


The LQ4 (6.0 truck motor) and 200-4r were already in the car and running from last year.


After the tear down:


Interior:

I am putting the interior in the car, which was still stock piled away last year. It will be great to have the radio back! Otherwise mostly putting the stock interior back in as well as swapping in these Lincoln LS buckets I sniped at U-Pull.


Rearend/ Rear Suspension:
I rebuilt the posi with a new clutch pack and carrier bearings. The stock axles were toast as well as the bearings so I threw in a set of Alloy USA axles. Still to come is a Moser or T/A style diff cover. Most of the rear suspension was good from last year so I put new bushings and boxed the upper arms and threw in a set of new SS springs a buddy of mine gave me.

Front suspension:

Not much going on here since it was mostly rebuilt last year and I haven’t started it yet, only putting in new factory SS springs.

Engine and tranny pulled:

Tranny:

Not much going on here, it is a reverse manual valvebody 200-4r.  Hope this inspires another 200 swapper on the forum.  Adding a drain plug, Sonnax performance servo, picked up a stall convertor, and a Lokar flexible dipstick (had a few problems with the stocker leaking).

Motor:

Currently this is a stock 2003 LQ4 6.0 truck engine with an Edelbrock dual plane carb intake and a GM LS Muscle Car swap pan. This weekend I am swapping on a set of 243 heads (off Z06 Vette), Edelbrock cam, and a Caddy CTS-V pan (muscle car pan hung pretty low). I had some fitment issues with the factory truck manifolds so I picked up a set of f-body manifolds I am going to try.

Old school vs. new school:

I have about a one page list of minor squeaks and rattles I am working out this winter as well on top of the projects listed above.  And if the $$$ is there in the spring I am pricing out new wheels and tires.

Though not a Chevelle a buddy of mine is doing a swap in my garage this winter I am helping with. Great to have a second project in the garage that doesn’t cost me anything! It is a 77’ C10 Chevy we are pulling the sbc/ 4 speed combo and swapping in an injected LQ9/ 4l80e combo. The goal is to keep it bone stock and use mostly factory parts. The truck will be primarily used to haul as well as a cruiser.


__________________

Andy

Southern Suburbs


President

Status: Offline
Posts: 7269
Date:
Permalink  
 

Wow, Andy, no shortage of parts and projects at your place either !!!

__________________

Mitch D.   River Falls, WI

Lifetime member of the "Cars apart Club"

Some Assembly Required

1966 Chevelle SS 396 M20

1970 Chevelle SS 396 M20

1967 Camaro SS 350 rs


Active Member

Status: Offline
Posts: 195
Date:
Permalink  
 

Motor teardown and build up:

LS6 243 heads (milled and cleaned), Edelbrock cam, and CTS-V pan on.  All buttoned up and ready to go back in. 


Second LS showed up, this is the LQ9 (Escalade, Silverado SS, and some Denalis) that is going in the 77' truck.


Added some 1/2" studs to the axles and a little support via Summit.


I bought Lincoln LS seats from U Pull a few months ago planning on putting them in the car.  Modified the seat brackets, removed side airbags, figured out wiring, go to fit for bracket mockup and... they are too wide!  The track width is about 3-4" wider than factory buckets, with the humps for the side body and frame mounts the seat track has to sit on top of them, making the seat height equivalent to a Mack truck, onto plan B or reusing my factory buckets this year.

Otherwise I have been putting the windows/ trim back in and a few odds and ends wiring issues/ add-ons.

__________________

Andy

Southern Suburbs


3K+ Club

Status: Offline
Posts: 4764
Date:
Permalink  
 

Looks good Andy.

Did you remove the carbon from the piston tops before installing the heads?  I cleaned the carbon off my 402 piston tops with a razor blade and some lacquer thinner.

__________________

Stan S.-Twin Cities 'South Metro'

1972 Malibu Convertible 2nd time around 

1999 SS Camaro LS1-6 speed

Forum influenced terms: 'Link Paste', 'Stanitized', & 'Revolving garage door...' 


President

Status: Offline
Posts: 7269
Date:
Permalink  
 

Those buckets looked good just sitting in there. You'll figure out a way to fabricate a mount to work...wink

__________________

Mitch D.   River Falls, WI

Lifetime member of the "Cars apart Club"

Some Assembly Required

1966 Chevelle SS 396 M20

1970 Chevelle SS 396 M20

1967 Camaro SS 350 rs


Active Member

Status: Offline
Posts: 195
Date:
Permalink  
 

SShink wrote:

Looks good Andy.

Did you remove the carbon from the piston tops before installing the heads?  I cleaned the carbon off my 402 piston tops with a razor blade and some lacquer thinner.


Yep, cleaned up everything before it went back toghether.  I just use chems and a rag.


Lost in the 60s wrote:

Those buckets looked good just sitting in there. You'll figure out a way to fabricate a mount to work...wink


 Nice if they did, I have a few other ideas I may persue, but the factory buckets are fine.  Unless something falls into my lap I need to keep my winter project scope creep down.


__________________

Andy

Southern Suburbs


Active Member

Status: Offline
Posts: 195
Date:
Permalink  
 

I have been crossing items off the list left and right, but nothing major to show.

-Figured out the heater wiring and putting that in.
-Finished the tranny and putting the combo in this Friday/ Saturday night

Sonnax servo, tv delete, new stator, pump gaskests, and pump springs, drain plug, and convertor.  I have never really been into autos so this is my 1st aftermarket convertor and this has to weigh half of the huge original boat anchor of a convertor.
-Installed 4 new speakers and back dash carpet
-Installed a new stereo head unit

-Finished "Dynamatting" the rear seat section
-Welded in the rear seat mounts, Mitch thanks for the diagram spot on.
-Cleaned up the trunk wiring as well as wired trunk, side marker, and courtesy/ dome lights.
-Figured out my seat situation and mounted the drivers seat.

And the list goes on with more to go....

I am waiting to see how uncle sam treats me this year and that will determine if I add a few items to my list or keep it the way it is.

__________________

Andy

Southern Suburbs


President

Status: Offline
Posts: 7269
Date:
Permalink  
 

By continuing to cross things off the list is making progress towards driving it again. Keep at it and the list will disappear, well the "have to do" list anyway. The list itself NEVER goes away completely...wink

__________________

Mitch D.   River Falls, WI

Lifetime member of the "Cars apart Club"

Some Assembly Required

1966 Chevelle SS 396 M20

1970 Chevelle SS 396 M20

1967 Camaro SS 350 rs


2K+ Club

Status: Offline
Posts: 2761
Date:
Permalink  
 

What brand did you end up using for the sound insulation then?


__________________

Chris - Ramsey, MN.

Dear Optimist, Pessimist, and Realist.

While you guys were busy arguing about the glass of water. I drank it!

Sincerly,

The opportunist.


Active Member

Status: Offline
Posts: 195
Date:
Permalink  
 

I originally used Roadkill which can be bought at Ultimate Electronics for everything in front of the back seat "hump" and ran out. Fast forward to this year and for enough to cover the rear seat pan I was looking at about $93 from Ultimate! Little bit of searching and I found FatMat, referred by another local forum. I got 25 sq ft shipped for about $35.00 and it comes with an install kit consisting of a knife and roller. You could probably do a whole floor pan for <$100.  Helps cut down road and exhaust noise, worth installing IMHO.

-- Edited by seagrams72 on Tuesday 15th of February 2011 08:34:51 PM

__________________

Andy

Southern Suburbs


Active Member

Status: Offline
Posts: 195
Date:
Permalink  
 

I had a good reason to skip meeting yesterday/ had a good alibi:


That counter keeps going down, time to throw it into high gear!


__________________

Andy

Southern Suburbs


Active Member

Status: Offline
Posts: 309
Date:
Permalink  
 

You stated the tranny has a tv delete. Could you elaborate on this a little more? I suppose you could run a constant pressure valve body for the line pressure, but how does the transmission shift without a tv cable?

__________________

1964 Malibu Convert
"Nitrous is for guys who can't build motors"

www.worldracingleague.org 

www.facebook.com/wellsmafiaracing


Active Member

Status: Offline
Posts: 195
Date:
Permalink  
 

Bungy L-76 wrote:

You stated the tranny has a tv delete. Could you elaborate on this a little more? I suppose you could run a constant pressure valve body for the line pressure, but how does the transmission shift without a tv cable?


The TV delete is only a Dorman 55-082 (?) Freeze Plug.  I am running a reverse manual valvebody so the shifting is all on me.


Went out yesterday and noticed the pan contacts the frame on the very sides on a downward sloping face of the pan/ frame.  I am going to attempt to space the motor up a little bit and back about a 1/4" and see where I am at.  It is already impossible to get my heater box (a/c to heat conversin box) in so I am going to see how I have to modify of that.


__________________

Andy

Southern Suburbs


Active Member

Status: Offline
Posts: 195
Date:
Permalink  
 

Finally an update! Working two jobs and going to school sure cuts into the car time…

I have had it drivable since memorial day weekend, but wanted to get it aligned first before I put too many miles on it which I had done tonight.

Few overall shots. Didn’t have time to paint the hood yet, but the red hood on a satin black car may set it apart for a while.

Went with MB Old school 17 x 9.5’s on all fours. 275 50’s in the back and 275 40’s in the front. Used 7/16” wheel spacers on all four to give a wider stance and eliminate the rubbing on the sway bar I was having. Due to the spacers I had to install longer studs so I put half inch studs in the front to match the ½’s in the back.

First time I have had the interior in the car in a while. Nice to have all 4 windows and the doors open and close great! Those seats are out of a Lincoln LS. Drivers seat is actually the passenger seat from the LS and vice versa. Comfortable and power leather. I believe the steering wheel is late 70’s Camaro which I still have to install the center cap. Kept the same Auto Meter gauges as last year. Need to find a place to mount the usb connect cable from my ignition box. Stan, you may notice the switch in the shifter. When I had the tranny redone the builder put in the lock-up goodies. Flip the switch at 60mph in OD and the tach drops to 1500rpm and that’s even with 4.10 gears.

Still the same 6.0 from last year, but added the Doug’s headers and a few other goodies.

Installed a new radiator (stock Chevelle rad from a local auto parts store). Fans are from a late 90’s/ early 00’s Grand Am/ Prix. Keep it pretty cool.


Few more things to iron out:

1) Put back in inner fenders (easier to do the alignment w/o)

2) Fix a few small paint chips

3) Tune in carb, I could use some advise here…

I setup all of the baseline stuff and when I get into the throttle the car gets up and goes. When I am at light to mid light acceleration (regular driving) it wants to surge while accelerating. The new carb (new to me) has a 50cc rear accel pump and I am wondering if this is too big. My power valves may be off to, haven’t taken a good vac reading yet.

4) Fix the brakes….

Opposite of the carb, the brakes are awesome mid to light braking, but stand on it and the car rolls to a stop? I am going to try bleeding and I put in a new booster in this year.


-- Edited by seagrams72 on Wednesday 22nd of June 2011 07:48:15 PM

__________________

Andy

Southern Suburbs


Active Member

Status: Offline
Posts: 460
Date:
Permalink  
 

What cam you running ? Is it building enough vacuum for brakes ?
Are you running vacuum advance ?
what is you timing ?
Looks like you have a MSD box are you going to leave it mounted up off the intake ?
Looks cool love the colors.

__________________

Jim  -- Pine Island, MN


Active Member

Status: Offline
Posts: 195
Date:
Permalink  
 

Bowtieman427 wrote:

What cam you running ? Is it building enough vacuum for brakes ?
Are you running vacuum advance ?
what is you timing ?
Looks like you have a MSD box are you going to leave it mounted up off the intake ?
Looks cool love the colors.


 After I posted about the brakes I thought about the vaccuum.  I do have an aftermarket cam, don't know if what I have is a symptom of low vac, but I have a vaccuum canister around I can try.  And foremost I should check the vacuum which I have to do anyways for the power valve.

No vacuum advance since I am not running a distributor.  I should set my box back to the factory MSD setting like last year in case something got screwed up.

The intake and box are made to be mounted like that.  I had the box in the car last year, but I like how it looks on the intake.


__________________

Andy

Southern Suburbs


Super Poster

Status: Offline
Posts: 603
Date:
Permalink  
 

Looks really nice!  I love the wheels with the flat black paint thumbsup
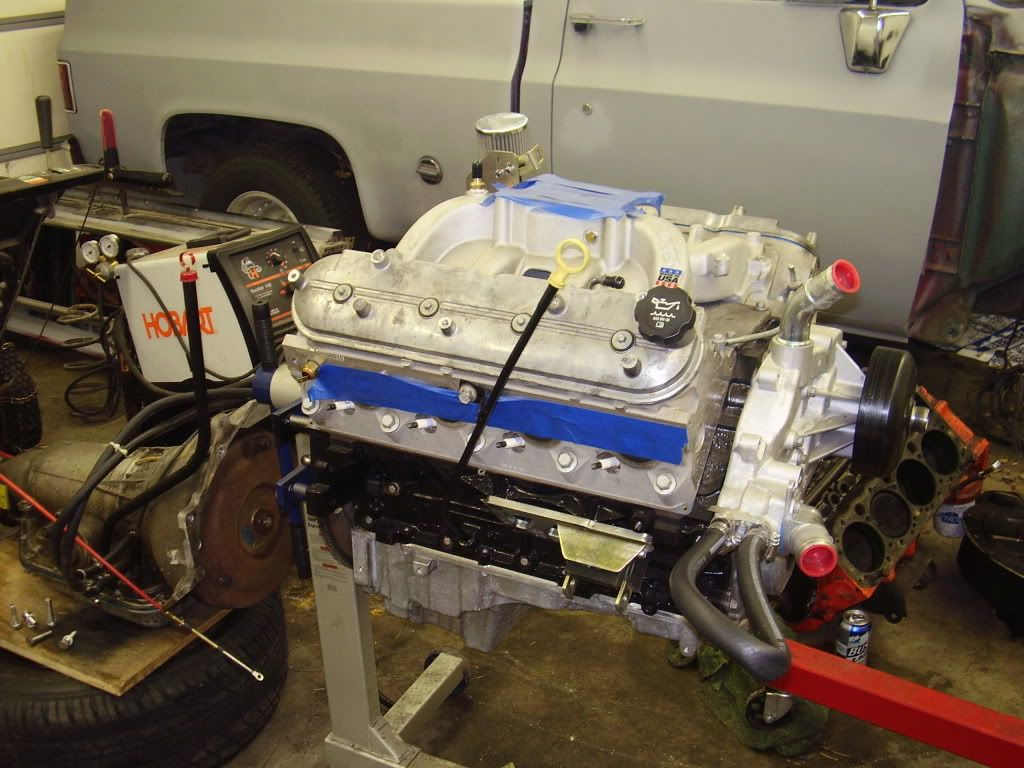
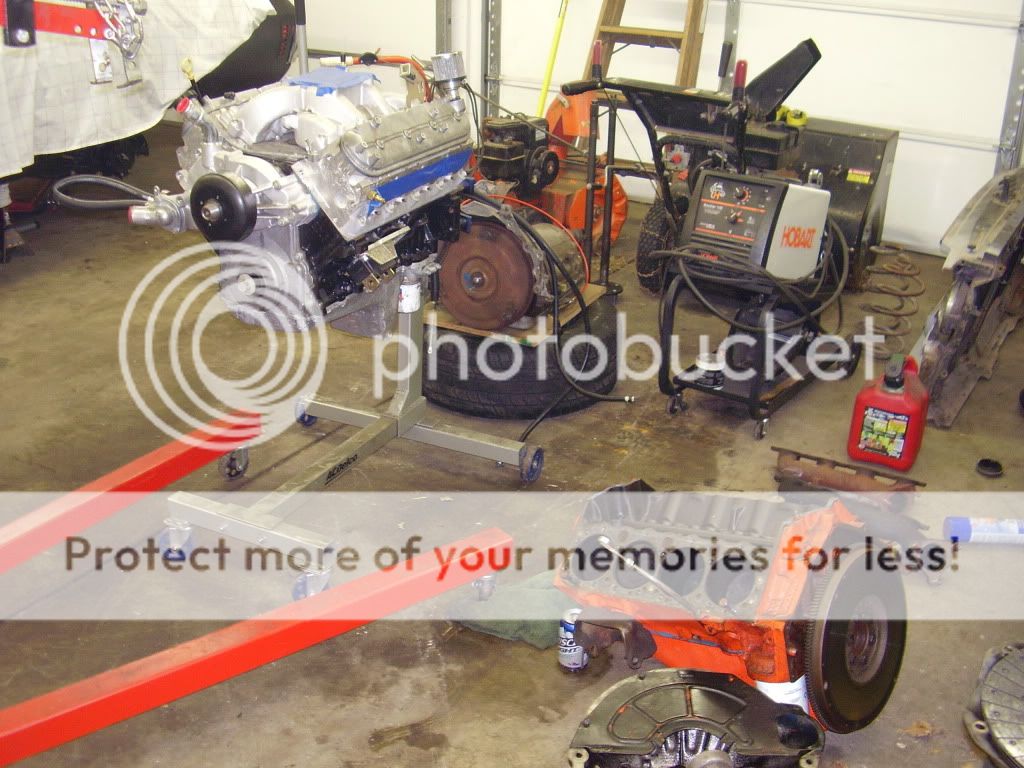
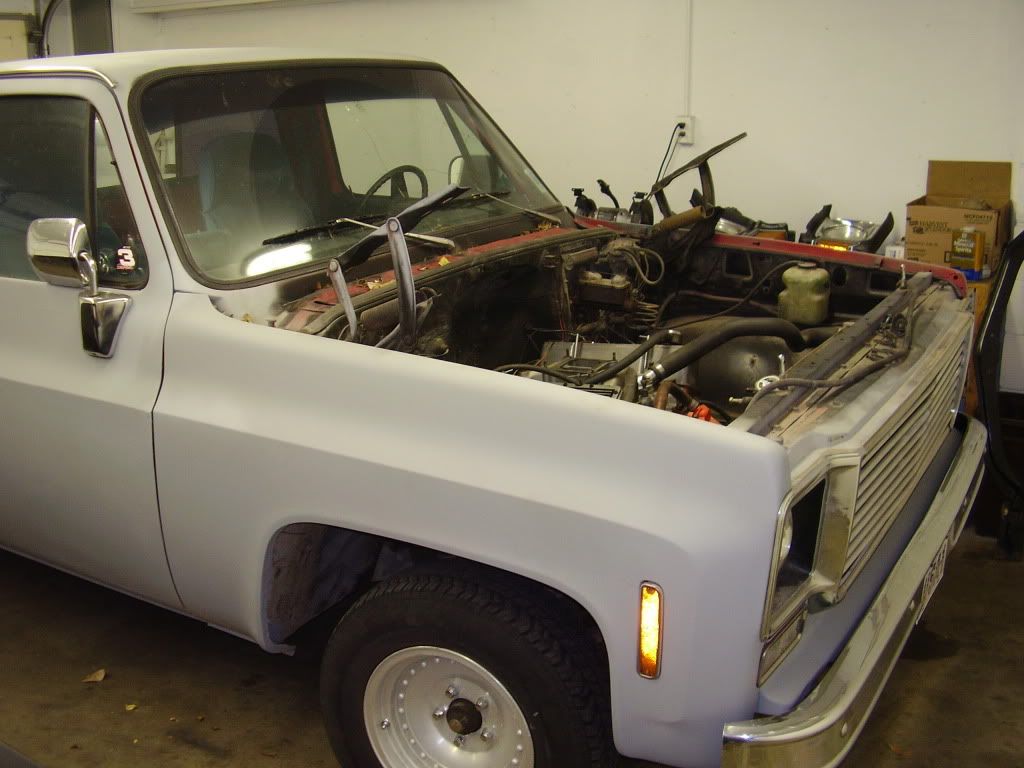
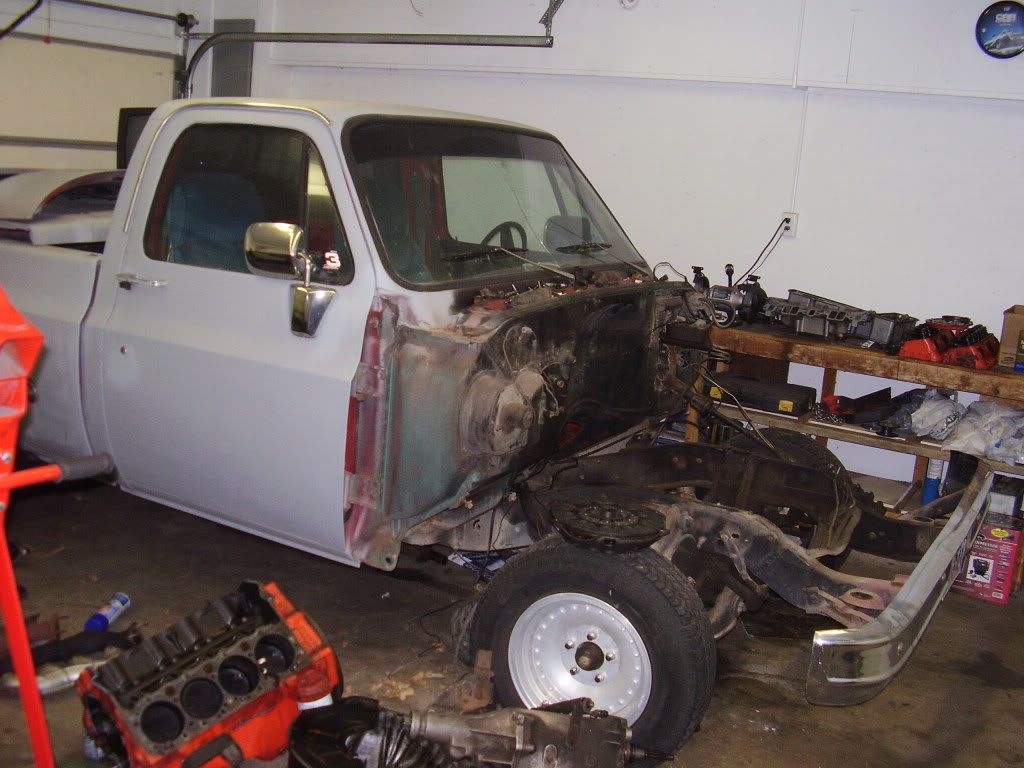
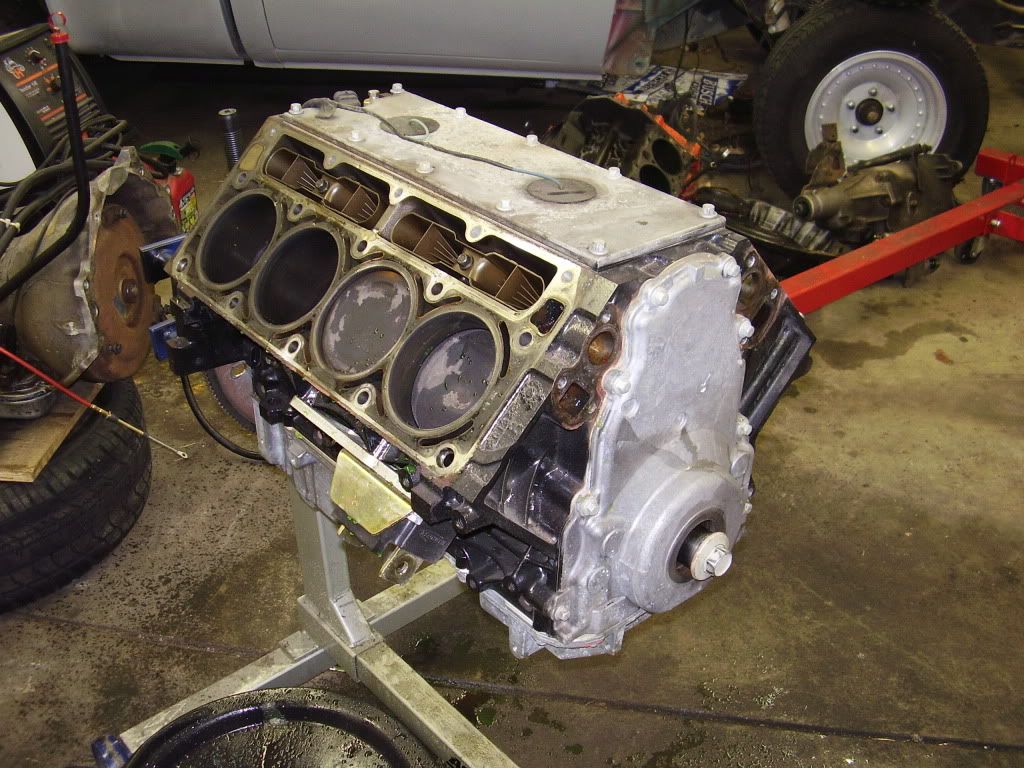
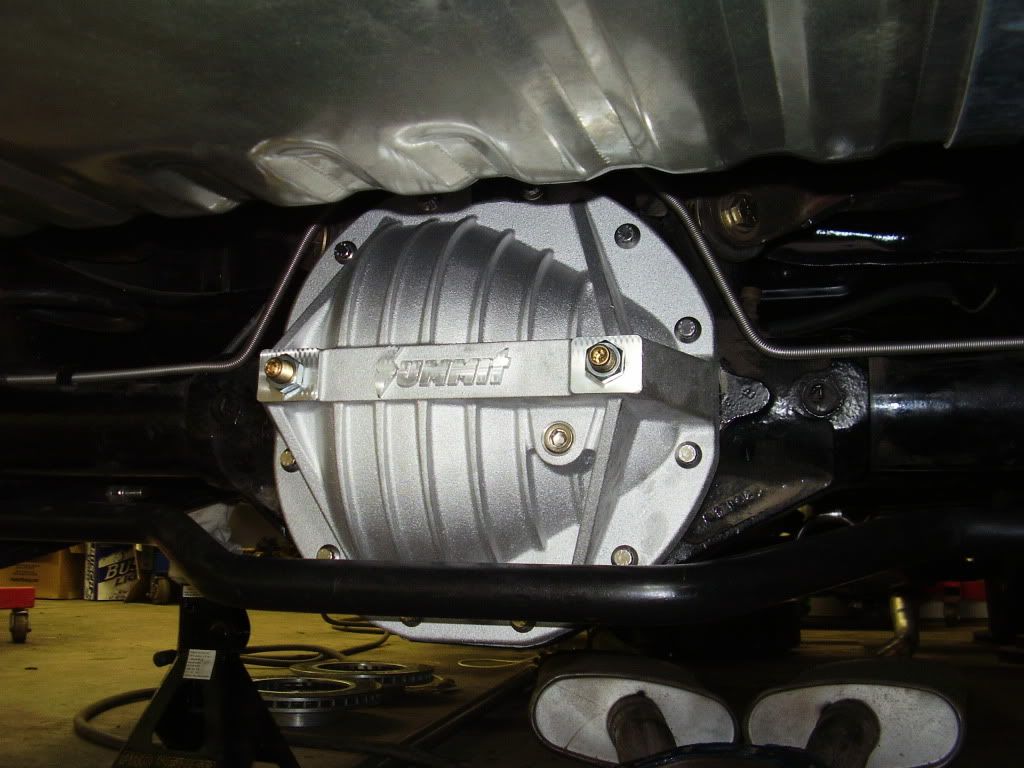
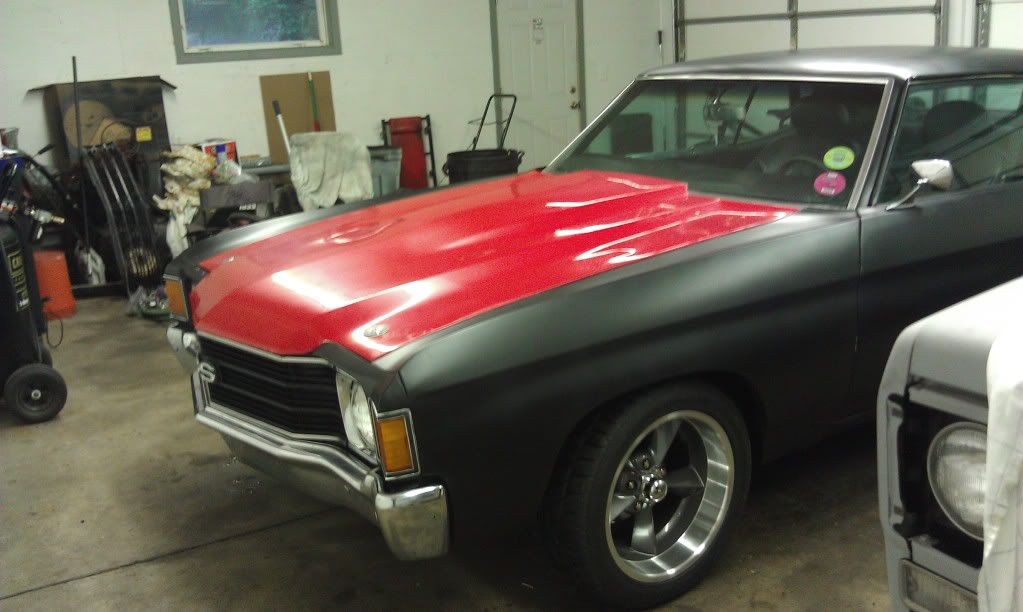
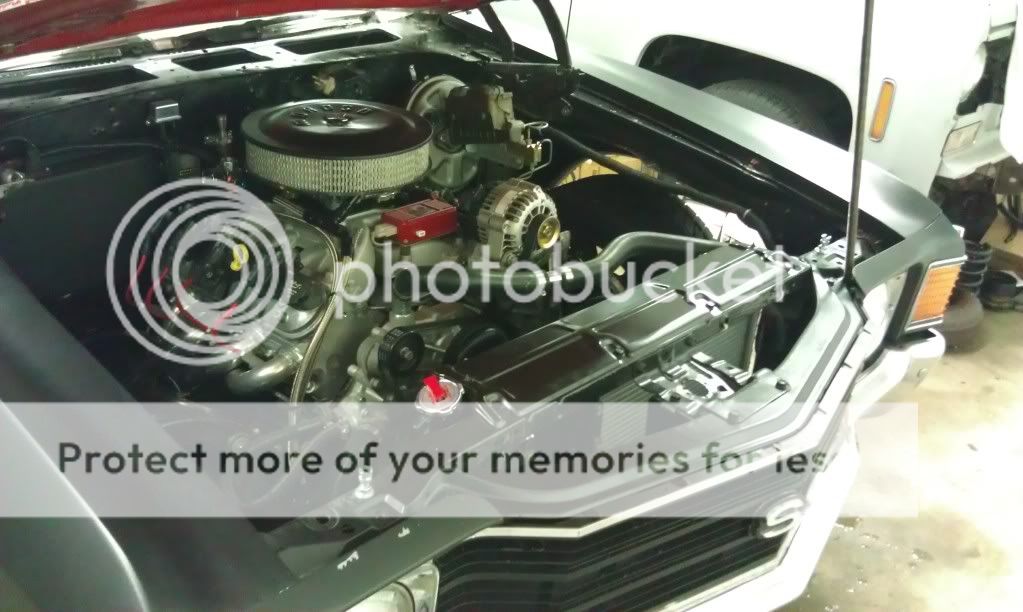
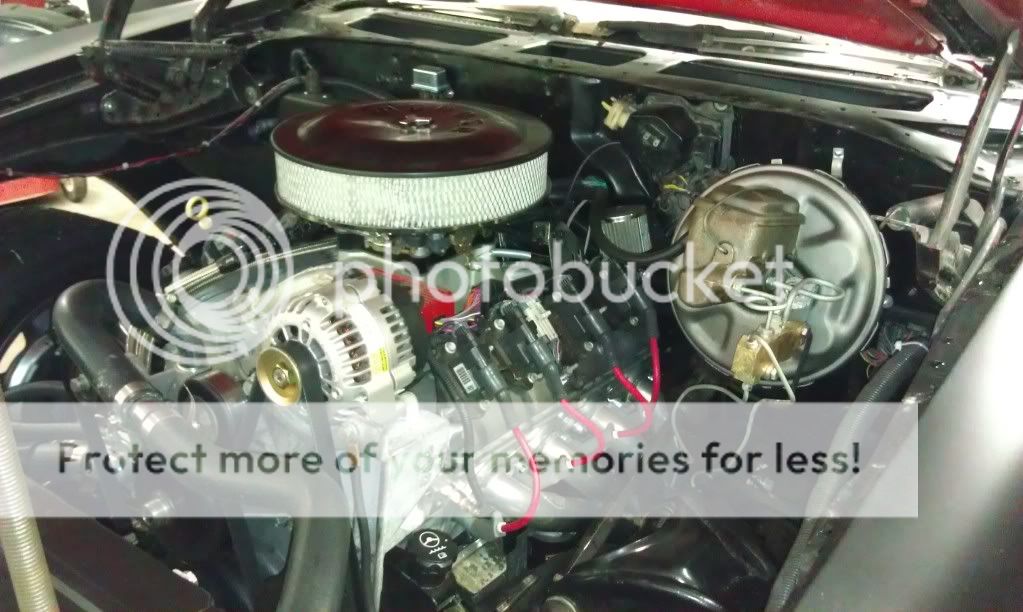
.  Do you have any guess on horse power?


__________________

Steve S. - Fountain, MN


1972 Chevelle - 383 stroked LS1/4L60E - SOLD!


Active Member

Status: Offline
Posts: 195
Date:
Permalink  
 

With the heads, cam, and headers I was guessing low to mid 400's. Guys are getting high 300's with these motors straight from the junkyard with just the intake and carb.

__________________

Andy

Southern Suburbs


3K+ Club

Status: Offline
Posts: 4764
Date:
Permalink  
 

Looks good Andy!  thumbsup

I like the stealthy look too.

Are you going to try to come to North St. Paul tomorrow night with it?


__________________

Stan S.-Twin Cities 'South Metro'

1972 Malibu Convertible 2nd time around 

1999 SS Camaro LS1-6 speed

Forum influenced terms: 'Link Paste', 'Stanitized', & 'Revolving garage door...' 


Active Member

Status: Offline
Posts: 195
Date:
Permalink  
 

I would like to, but work till 9. Depending on what time it gets over I may attempt to one of the Friday nights.

__________________

Andy

Southern Suburbs

Page 1 of 1  sorted by
 
Quick Reply

Please log in to post quick replies.

Chatbox
Please log in to join the chat!